
Rules for Special Cases
How to Set Up Detailed Rules for Vendor Payments
NOTE: This guide assumes a general understanding of rule creation in Bitwave. For general rule creation steps, follow the steps listed here.
NOTE: it is recommended that you first begin by setting up the desired rule and apply it to a small time frame (such as a day or two). This is to test and ensure that the rule works as intended before applying it to all transactions that fall within the rule’s parameters.
Step 1: Navigate to the Rules Screen
-
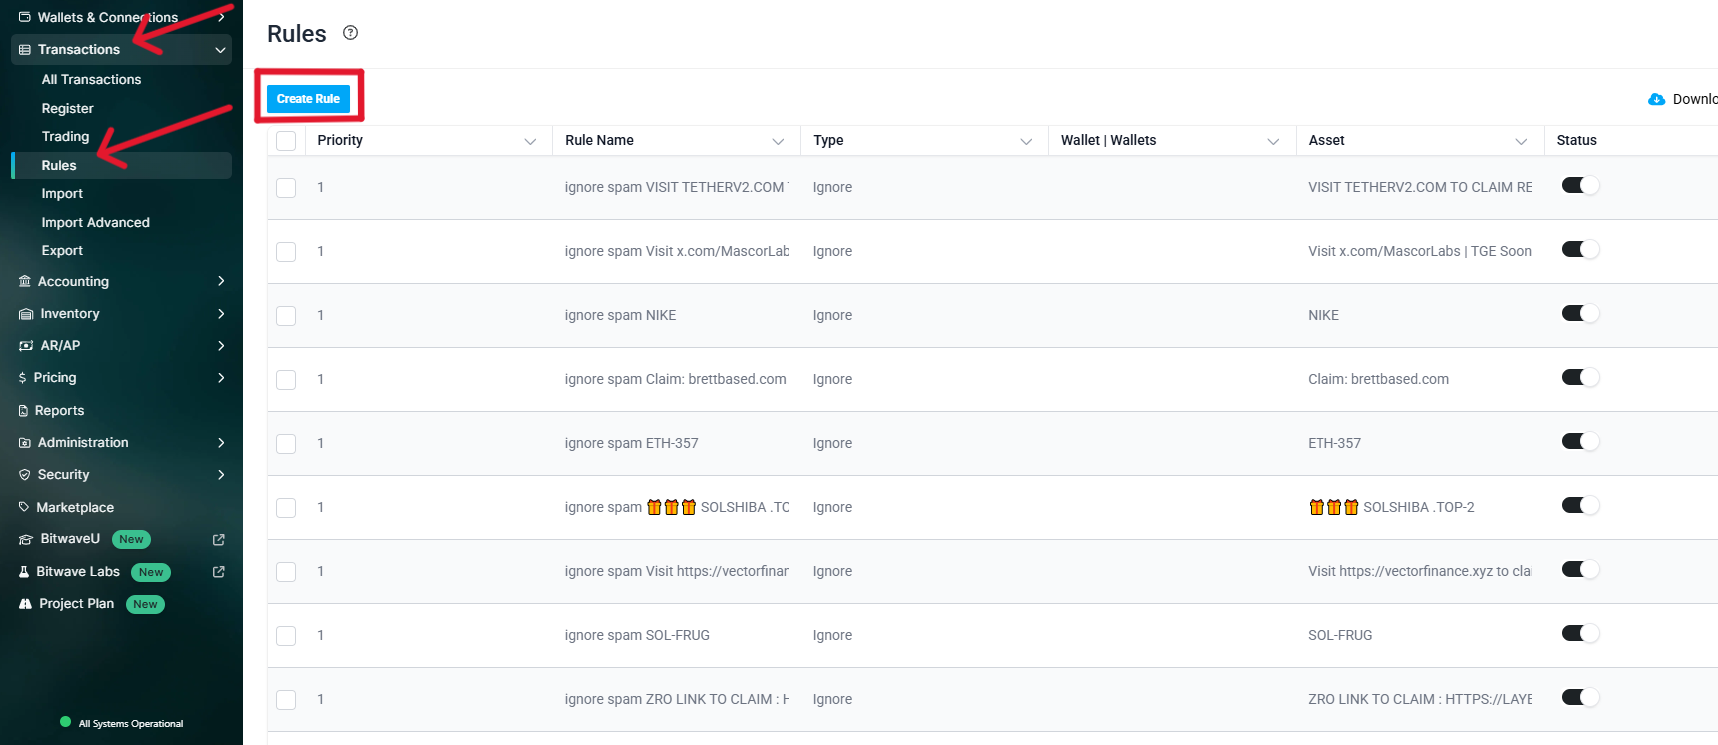
Navigate to Transactions > Rules in the Bitwave application
-
Click the “Create Rule” button
Step 2: Set up the Rule
-
Name the rule and set priority
-
Point the rule to a particular wallet
-
Specify a token for the rule
-
Change the categorization to “Detailed Categorization”
-
Click “Add Line” at the bottom of the rule creation page. This will add a detailed line to the rule creation
- Select “Amount” for Value Extractor
- Select “COIN” for Asset Extractor
- Specify the address you are paying to or are receiving payment from in the Qualifier Extractor section
- Use this format to categorize disposals:
txnLineTo == 0x0000... - Use this format to categorize additions:
txnLineFrom == 0x0000...
- Use this format to categorize disposals:
- Select a category for the transaction
- Select a vendor for who you are paying
- Set the direction for the rule to “All”
-
Repeat step 2(5) as many times as needed to create the desired rule
NOTE: This rule works for any combination of sending to the addresses specified in the rule.
ex. You specify 10 addresses in 1 rule related to USDC payments from wallet 0xExample.
Any payment related to those 10 addresses in USDC from 0xExample will be categorized according to the detailed rule.
- A tx paying 8 of the addresses, a tx paying 5 of the addresses and a tx paying 1 of the addresses will all be categorized.
- A tx paying 10 of the addresses and an additional unspecified address would remain uncategorized.
Step 3: Save the Rule
Click “Save” at the bottom of the rules creation page
Updated about 2 months ago