
Set-Up for Base Onchain Payments
🧾 Bitwave Payments Onboarding Guide 🚀
We’ve put together a complete onboarding guide to help you go from zero to full deployment with Bitwave Payments — including smart contract deployment and executing batch payments on Base.
⚙️ Initial One-Time Setup
👣 Step-by-Step Instructions
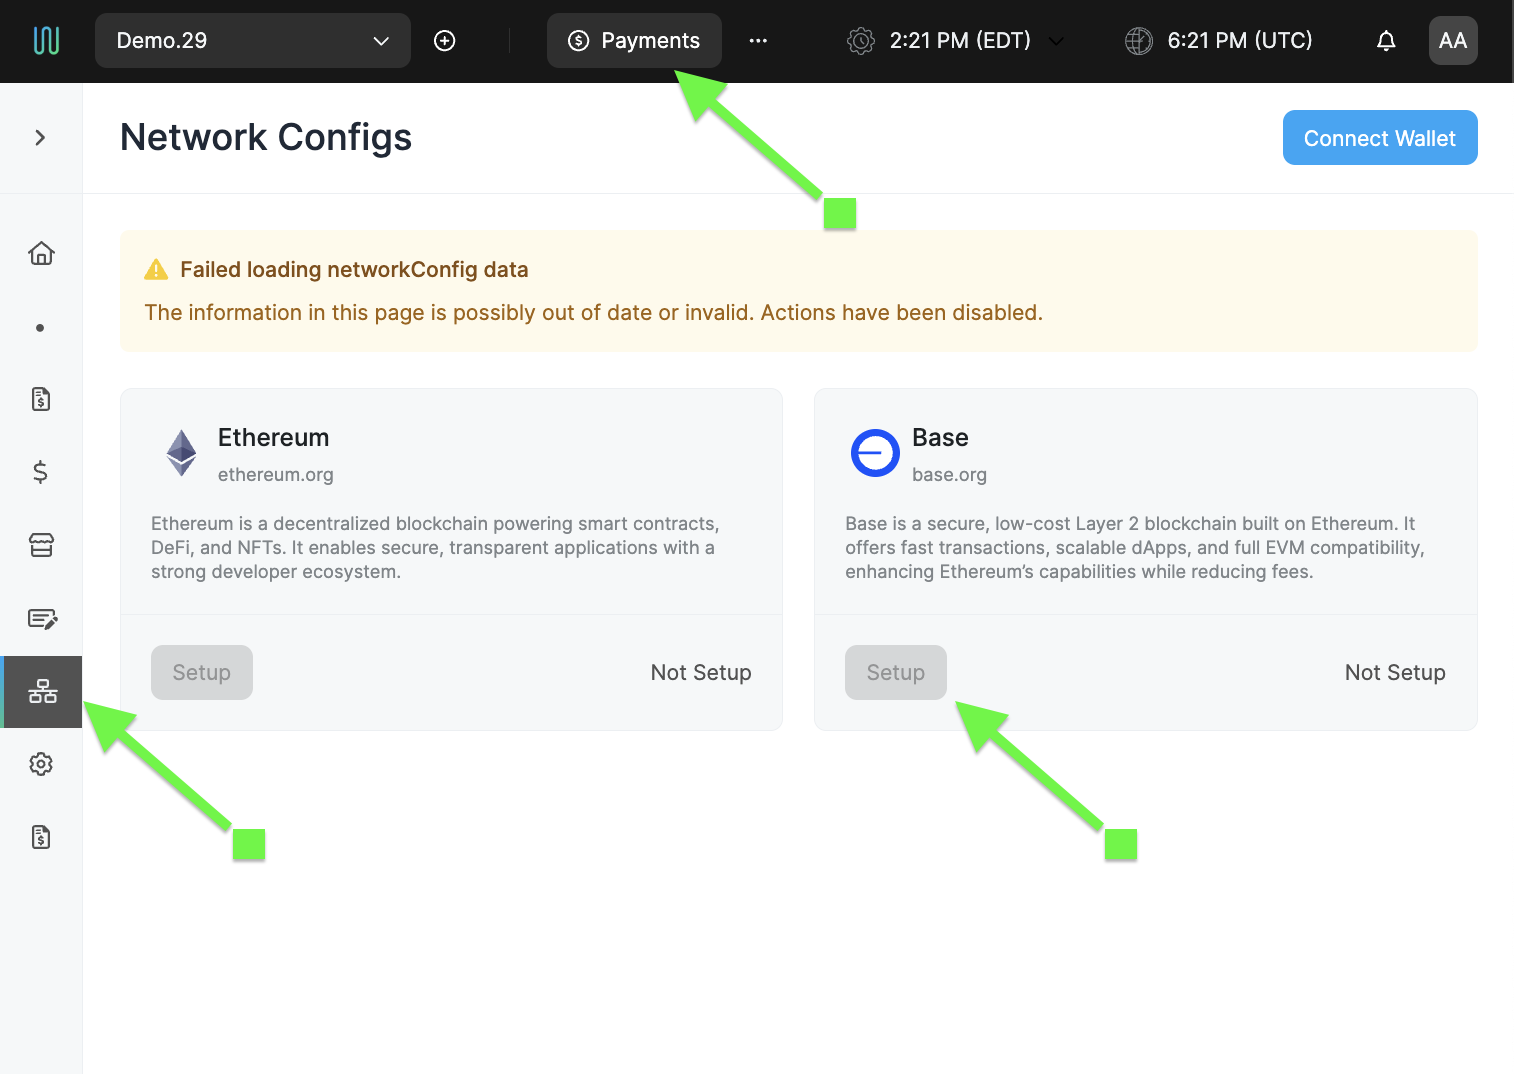
- In Bitwave, click on the Payments tab at the top navigation bar
- On the right-side panel, select Network Configs
- Locate the Base network and click Setup
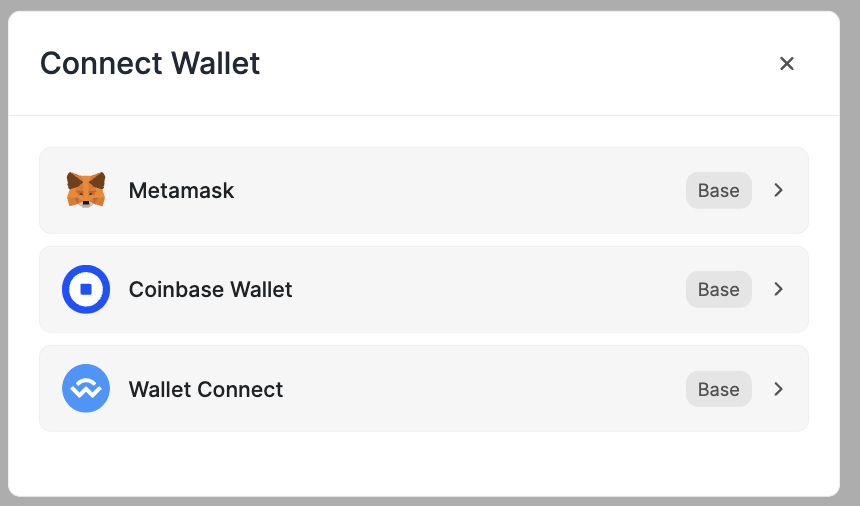
🔐 Connect Your Wallet
After clicking Setup, you will be prompted to connect your on-chain wallet.
📲 Confirm the wallet connection.
Next, you'll see a smart contract address — this will need to be added to your Coinbase Prime address book.
You’ll add two more addresses later in this guide.
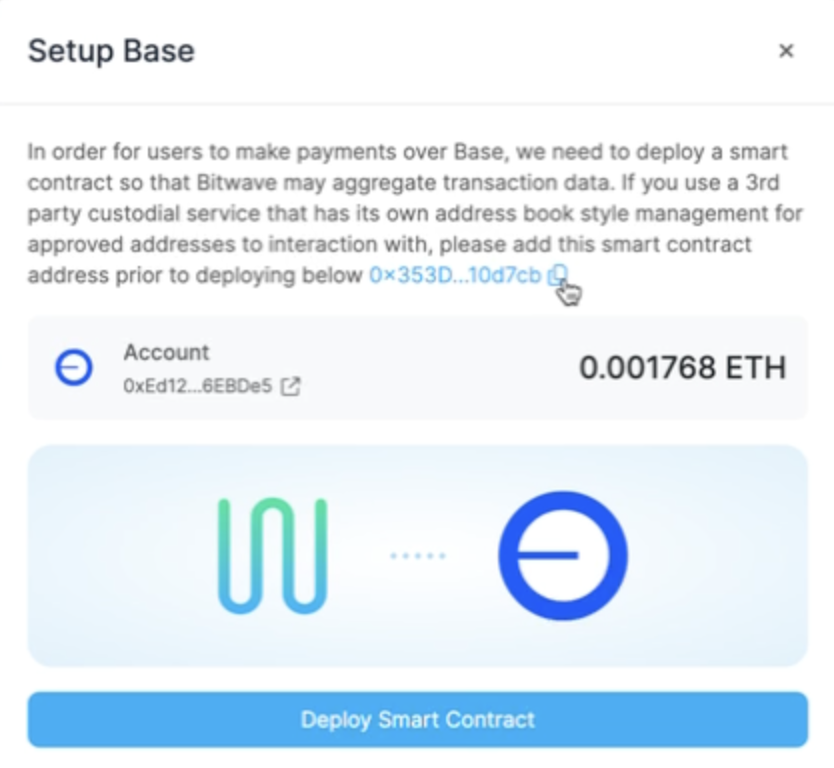
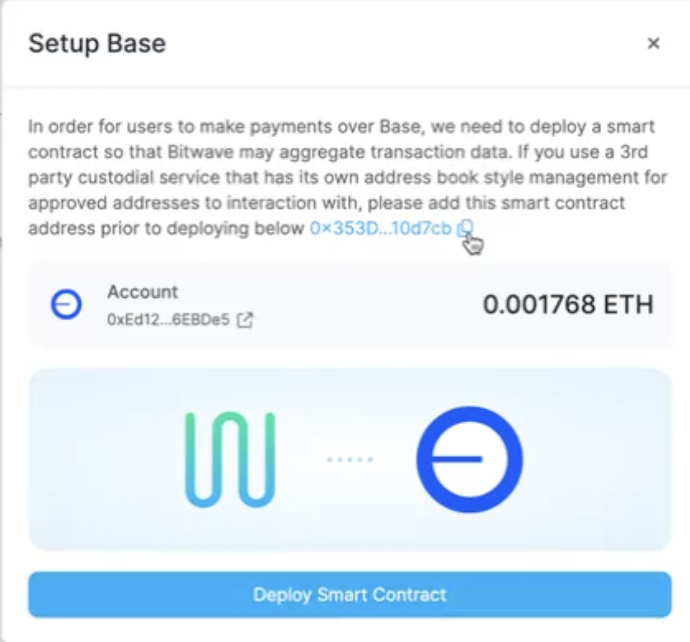
🛠️ Connect Wallet & Deploy Smart Contract
- Go to coinbase.com/prime and log in
- Navigate to the OnChain tab
- Click Manage Settings
- Go to the Address Book section
- Click Add Address Group
- Name it something like “Bitwave Contracts”
- Add the smart contract address from Bitwave
- Click Initiate Activity to register the group
Then return to Bitwave:
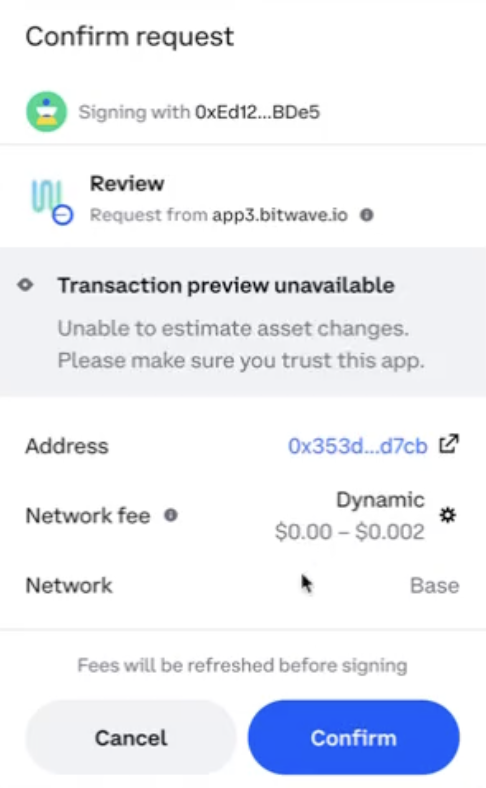
- Click Deploy Smart Contract
- Your Coinbase Prime Chain Wallet will appear — click Confirm
- Click View on Prime to open the approval screen
- Review and click Approve in Coinbase Prime
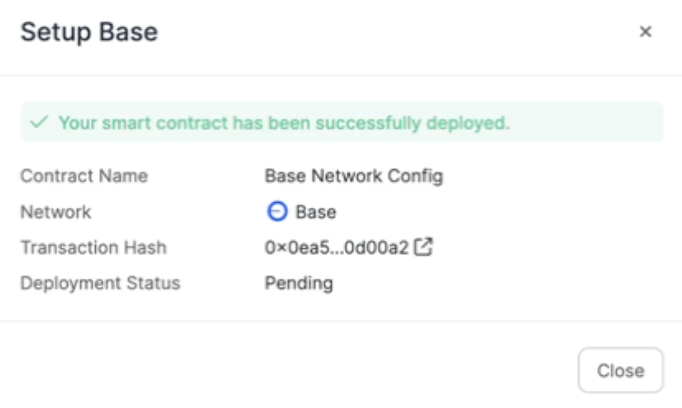
✅ Deployment Status
After approval, return to Bitwave and wait until DEPLOYMENT STATUS changes to ACTIVE.
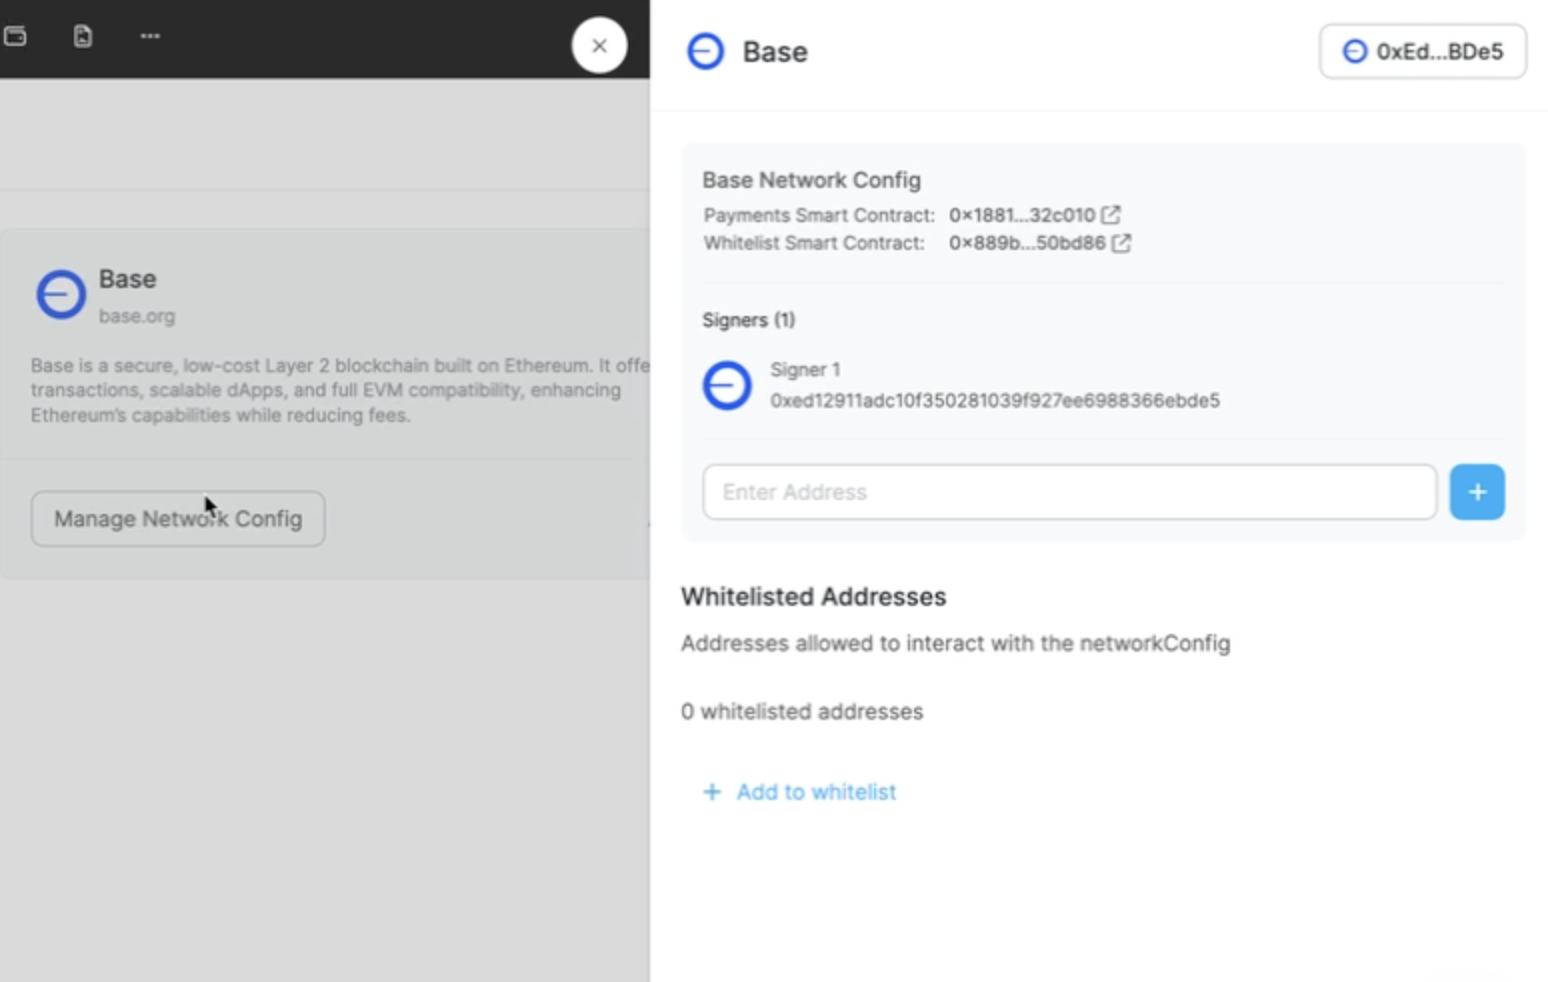
🧩 Manage Network Config
Click Manage Network Config in Bitwave.
🔴 You will now see two addresses:
- Payment Smart Contract
- Whitelist Smart Contract
Add both to your Coinbase Prime Address Book.
Additionally, from this screen you can:
- Add other Signers/Addresses to that will be able to add to the whitelist
- Manually manage the whitelist
Updated 10 months ago
Did this page help you?