
QuickBooks Connection Guide
Connect to QuickBooks
Step 1: Navigate to Administration > Accounting Connections
Step 2: "Connect New Account"
Step 3: Select "Connect to QuickBooks" to log in to your QBO online account.
Please note, we are only integrated with QuickBooks online and not the desktop version of QBO.

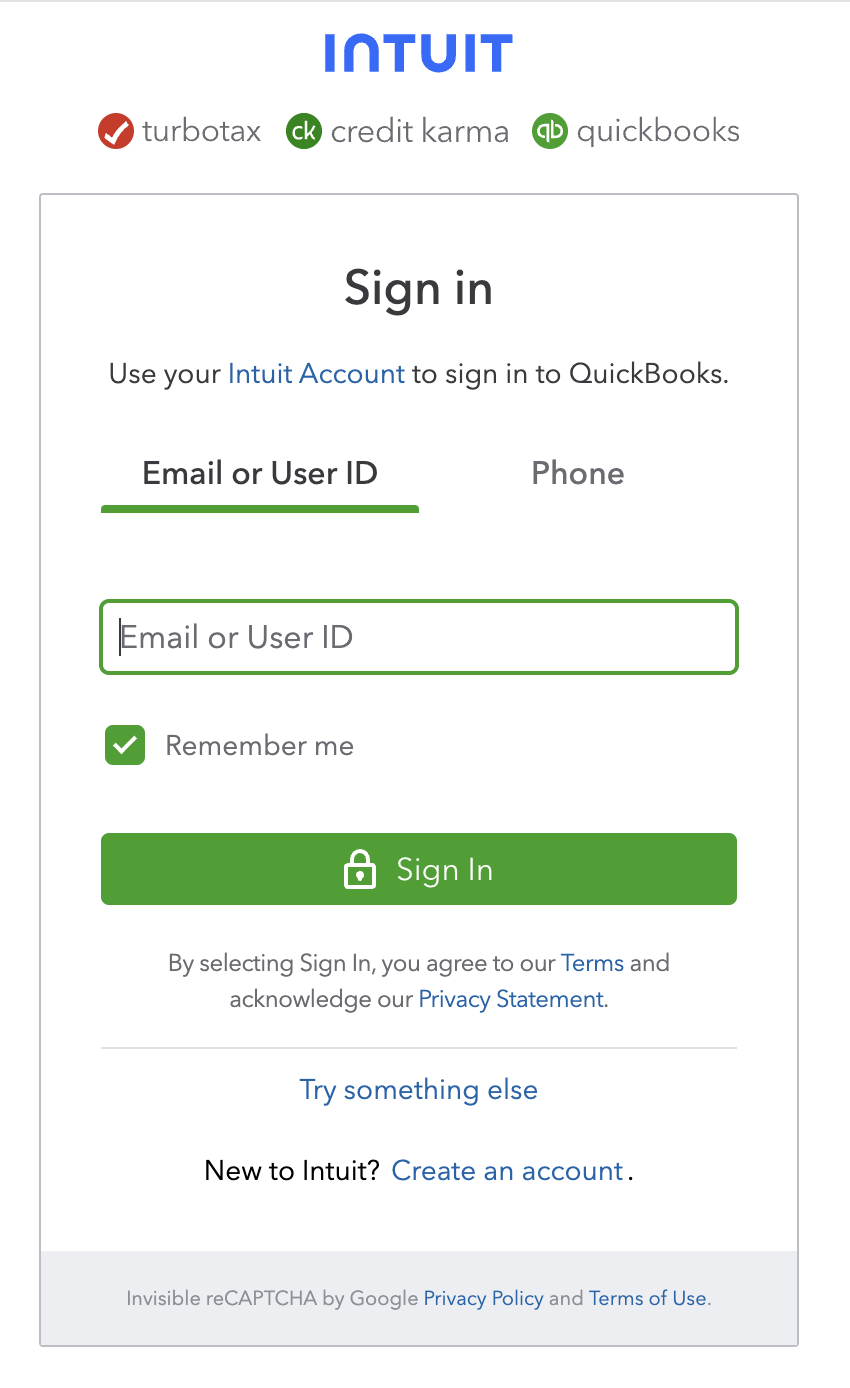
Sign in through Intuit interface
Step 4: Use your Intuit Account email or user ID to sign in to QuickBooks.
QuickBooks Chart of Accounts Setup
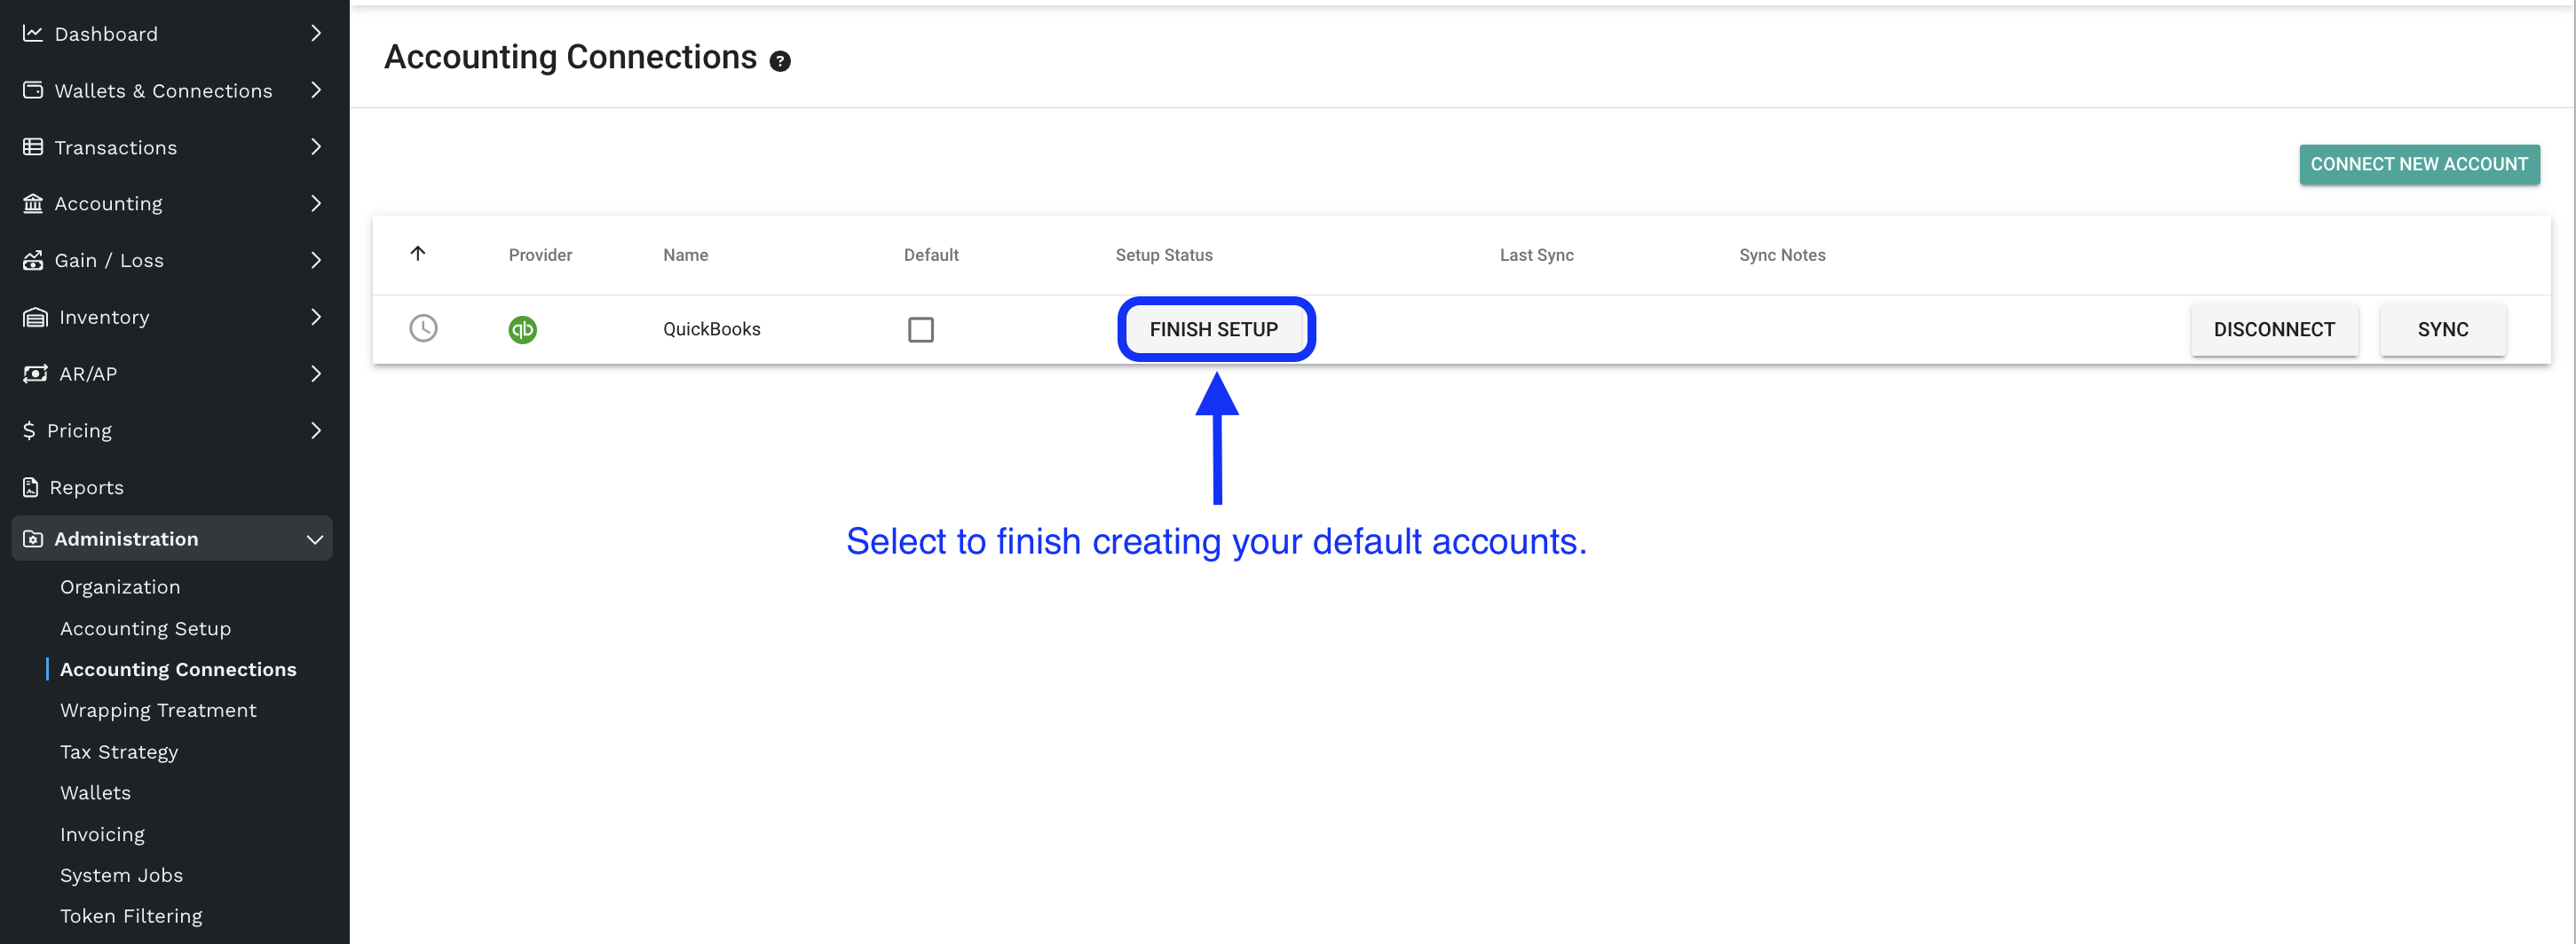
Step 5: After connecting your Quickbooks, select "FINISH SETUP" to select defaults.
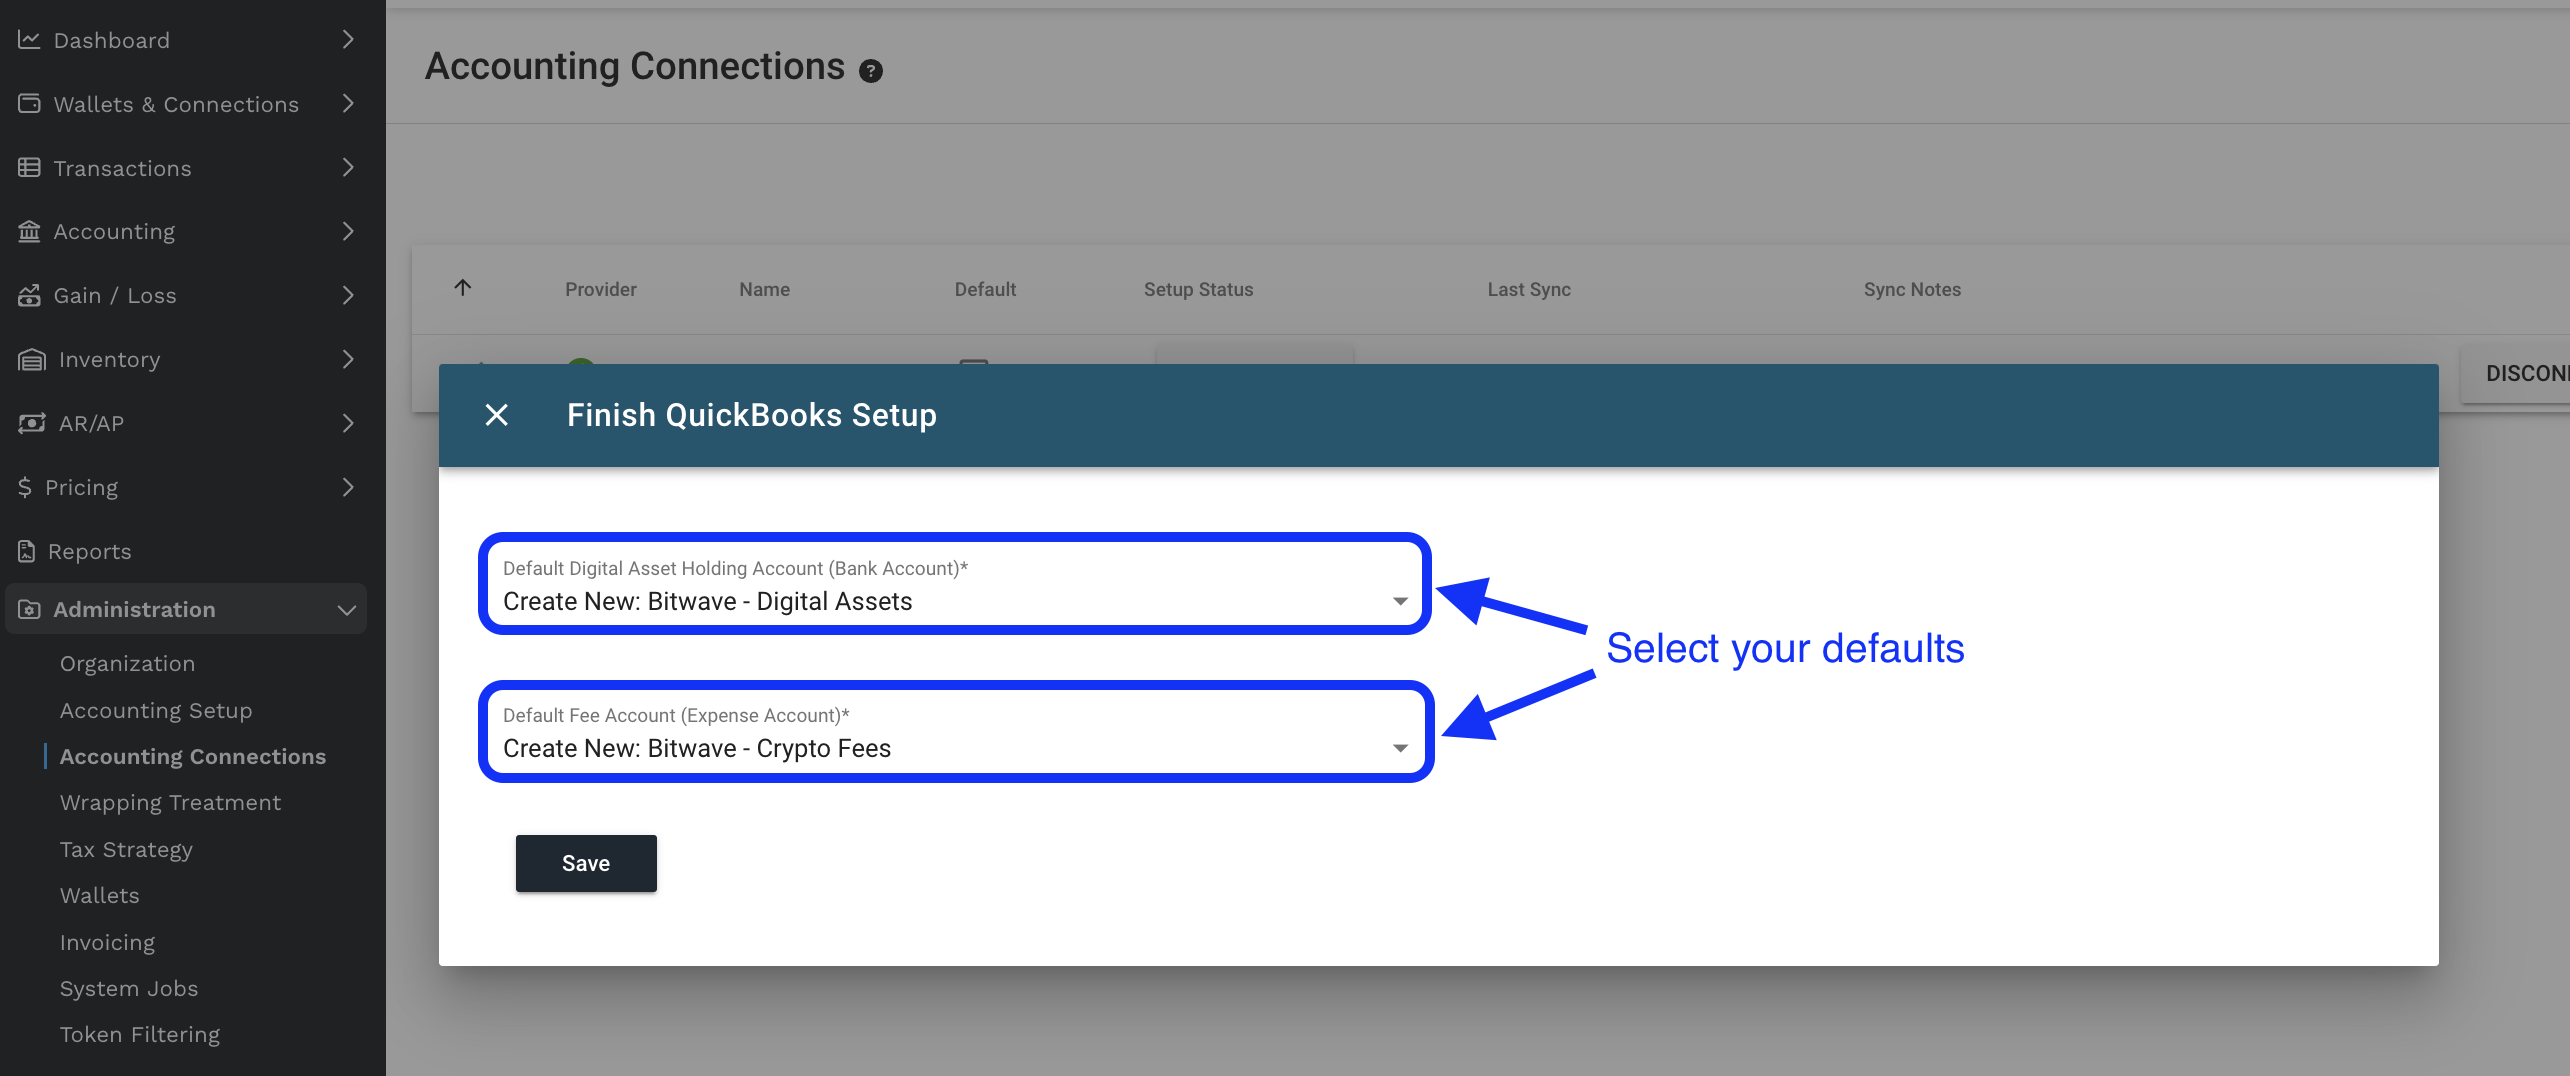
Default Digital Asset Holding Accounting (Bank Account):
Prior to connecting your Quickbooks, you will want to set up your Chart of Accounts. You may either choose to create a new general ledger account called "Bitwave - Digital Assets," which will be synced into QBO, or select an already existing account from your QBO chart of accounts.
This account will appear as a "Bank Account" type in your Chart of Accounts and will sync transactions through the bank feed.
Default Fee Account (Expense Account):
You will also be prompted to create a new general ledger account called "Bitwave - Crypto Fees" or you may select an already existing expense account.
This expense account will automatically be applied to to transactions that include on-chain transaction fees such as "gas fees" or transaction fees for exchanges.
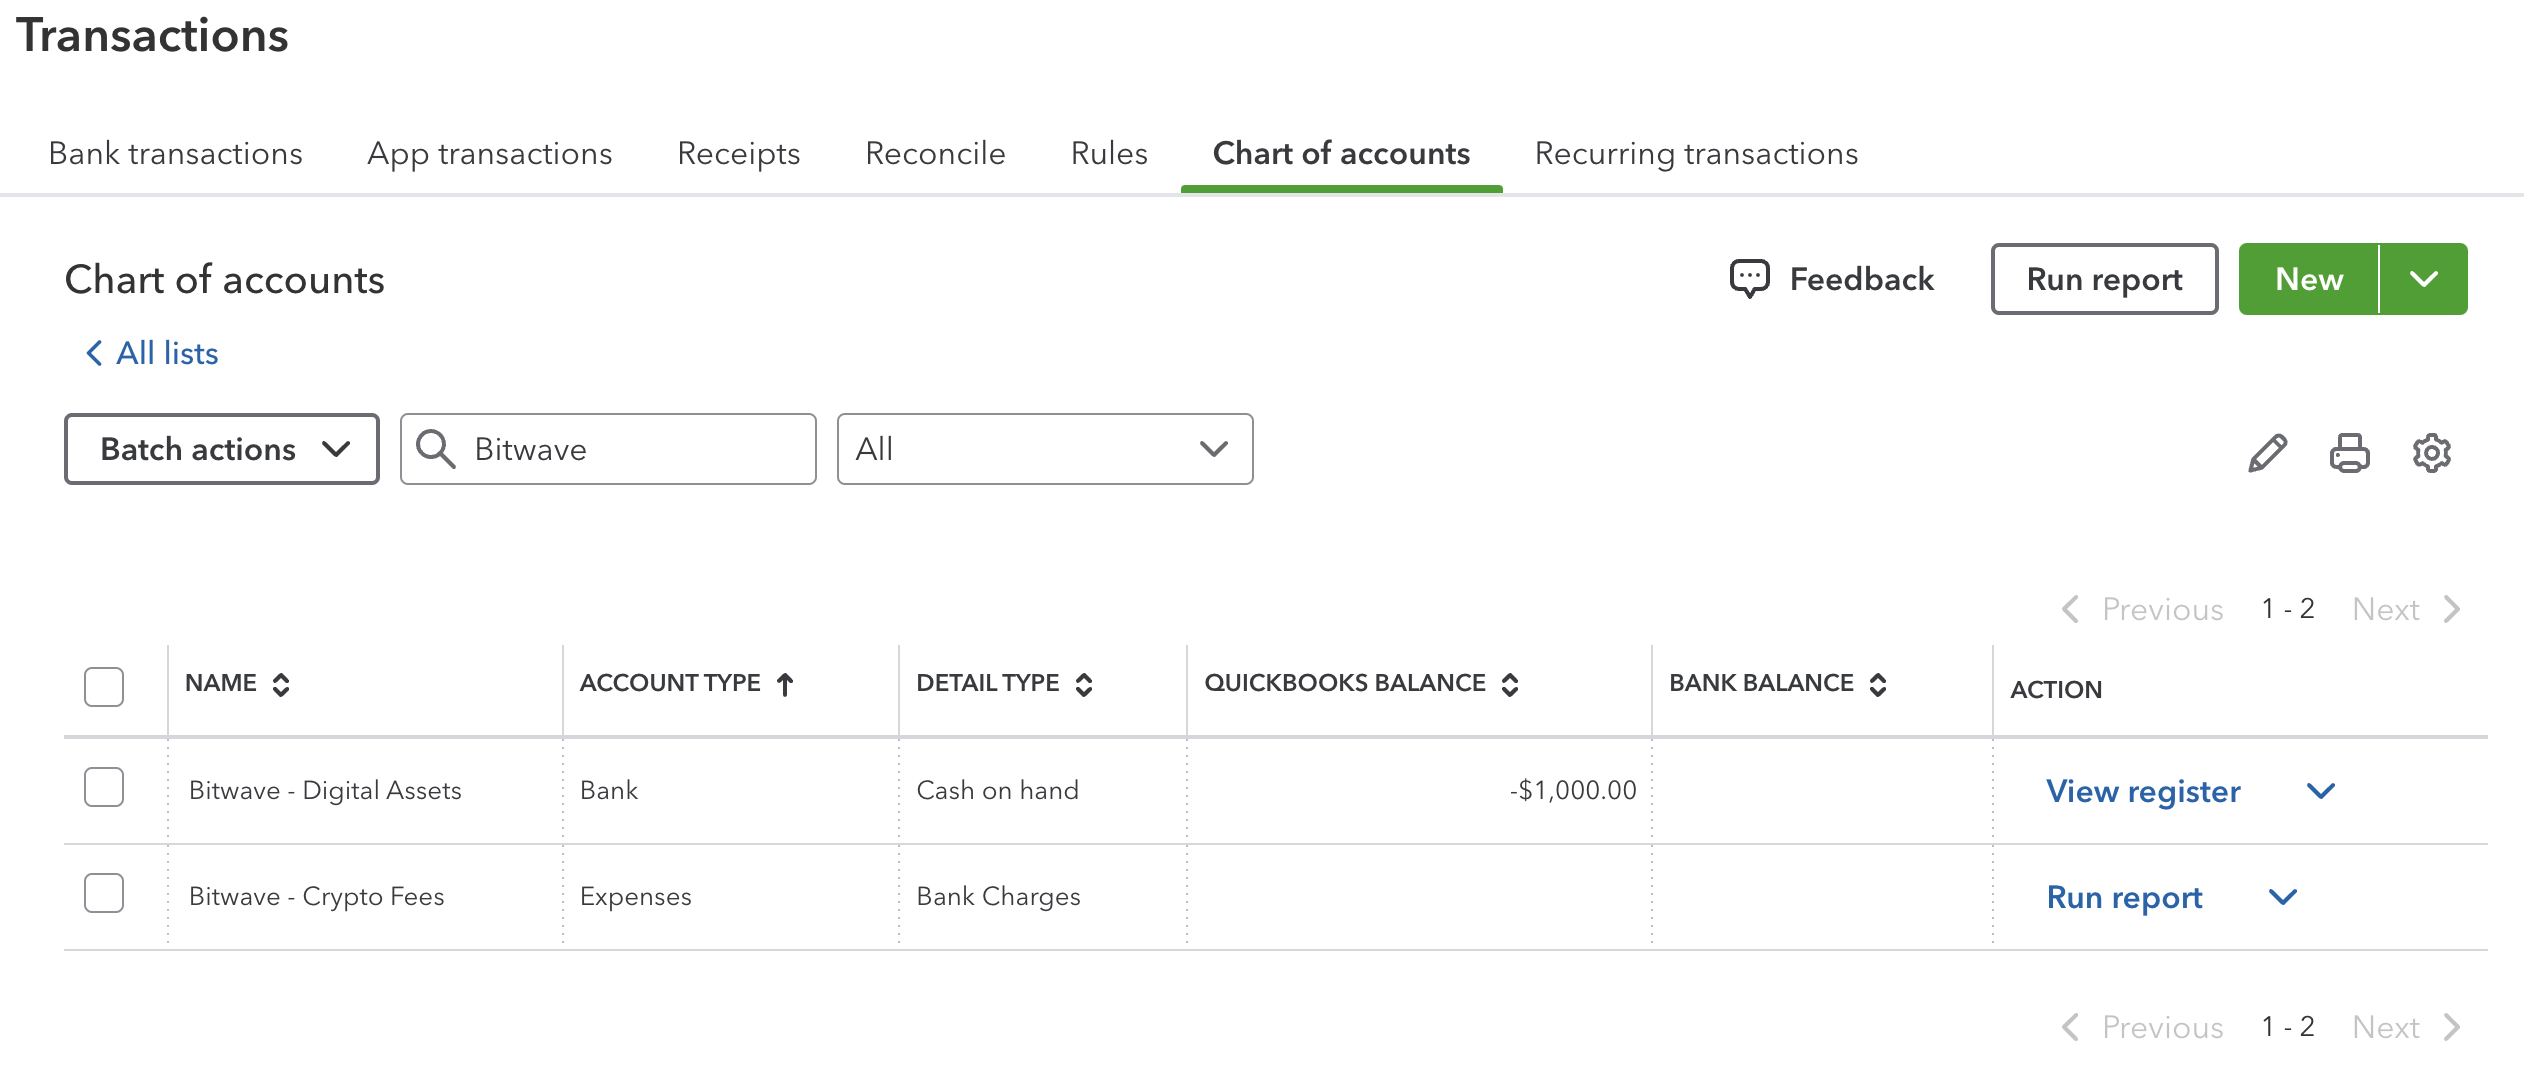
How the default accounts appear in the QBO Chart of Accounts:
Step 6: Select "SAVE." You have successfully connected your QuickBooks!
The "Last Sync" and "Sync Notes" column will be populated indicating a successful sync with QBO. Check the "Last Sync column" periodically prior to reconciling your data to ensure that the connection is still active and synced through the current date.

Updated 10 months ago