
Reconciliation using Data Sources
Creating Data Sources for Reconciliation
Before you can reconcile data, you need to upload your data sources to Bitwave.
Create Your Data Sources
-
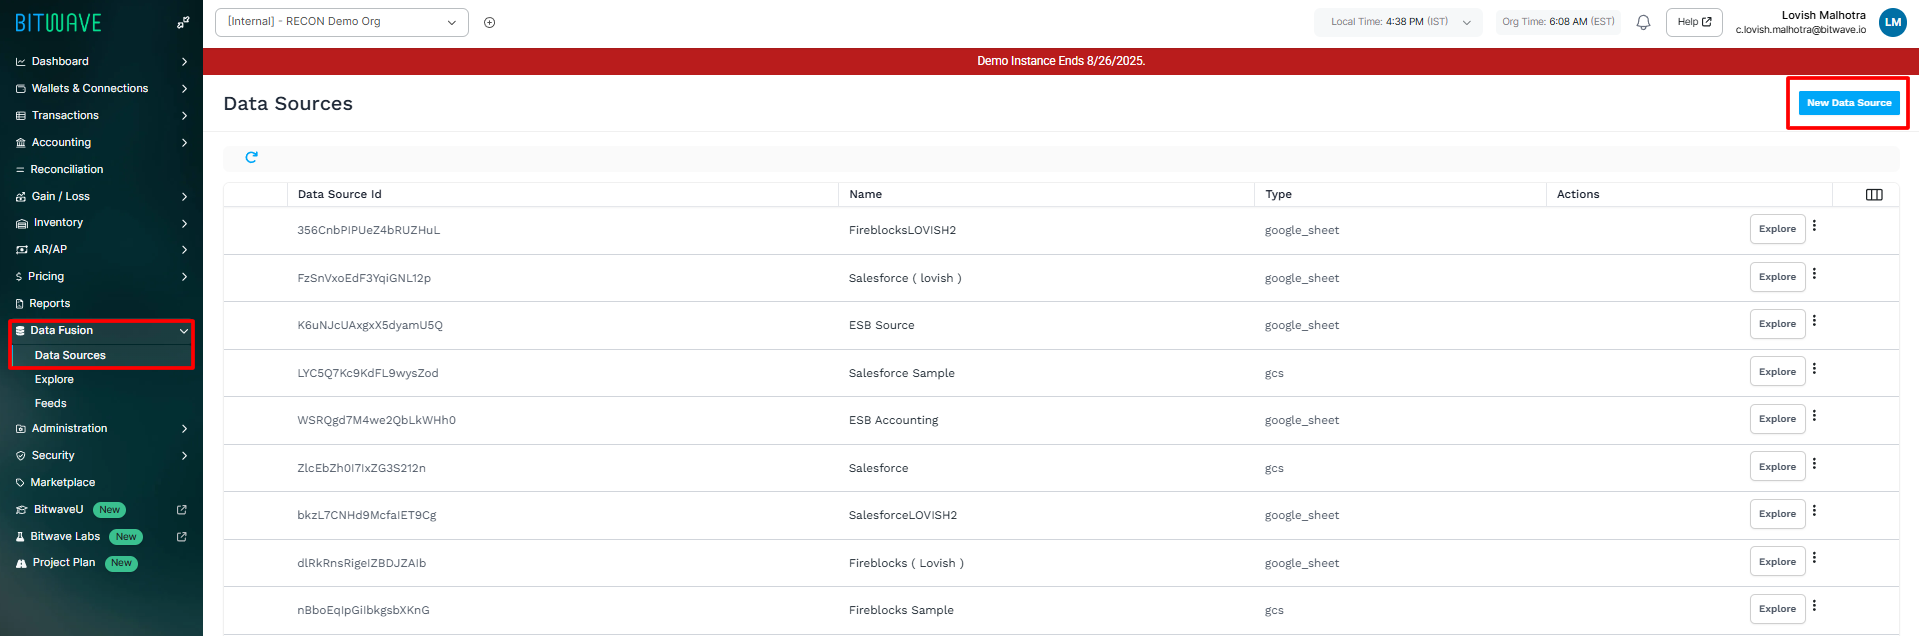
Navigate to Data Fusion > Data Sources and click New Data Source.
-
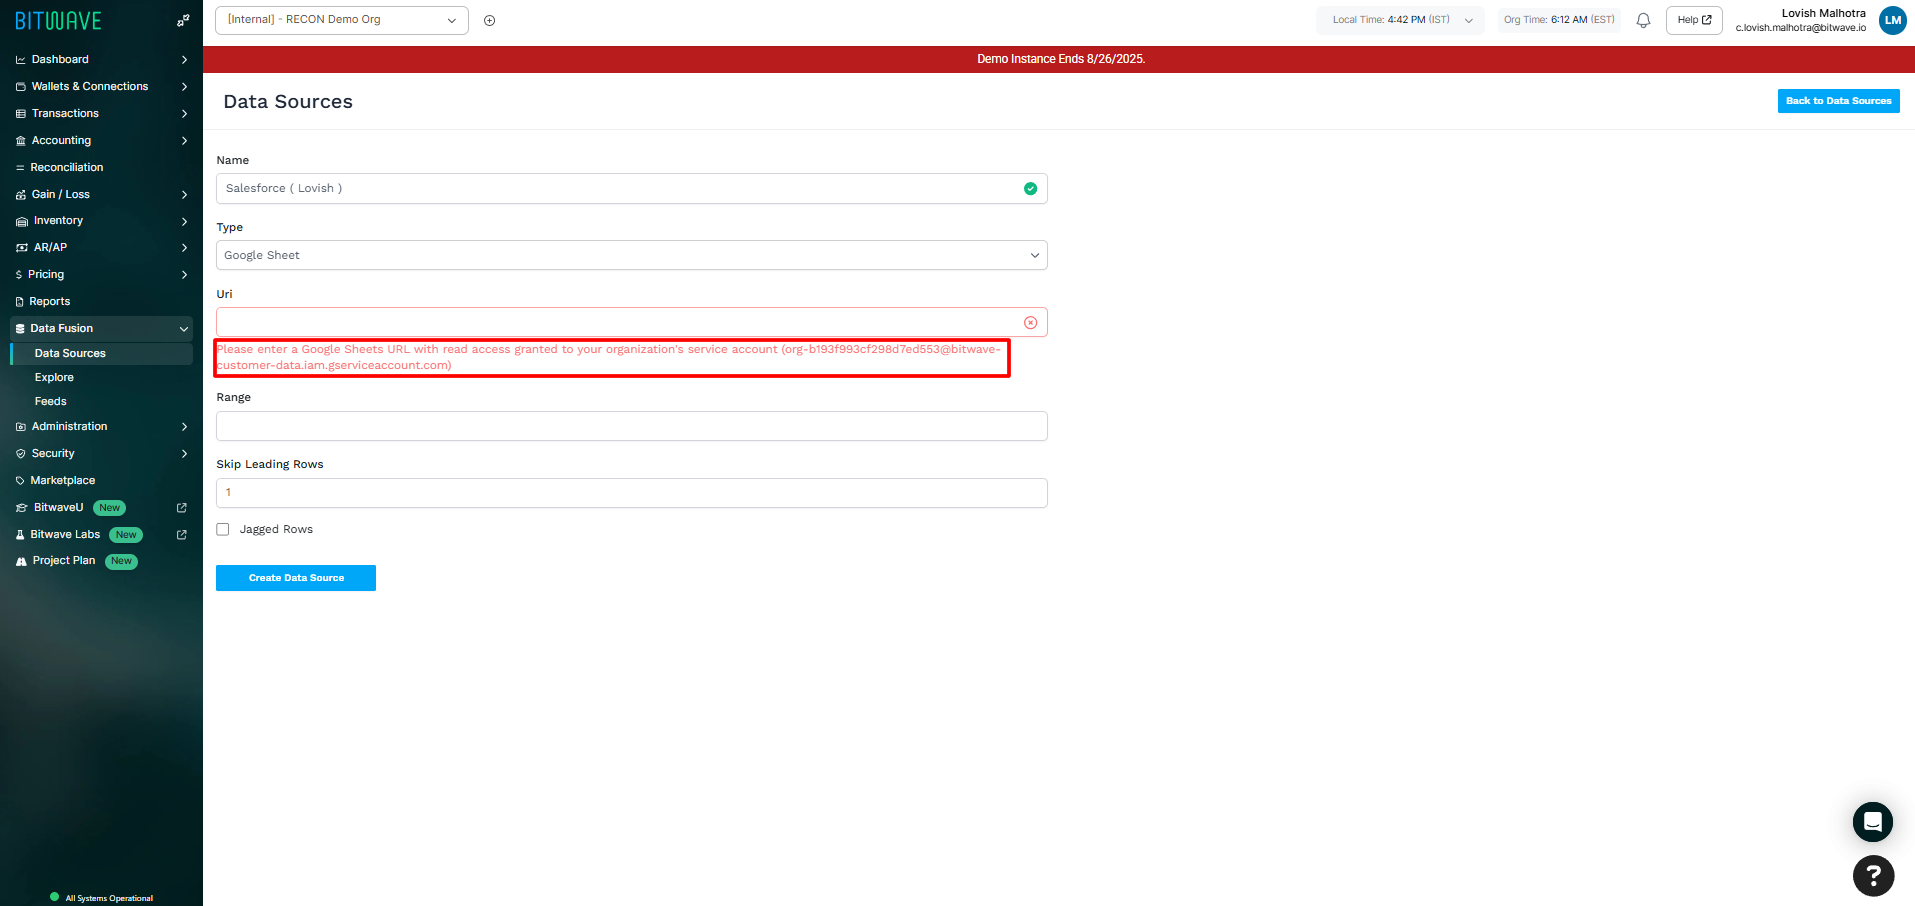
Give your data source a name.
-
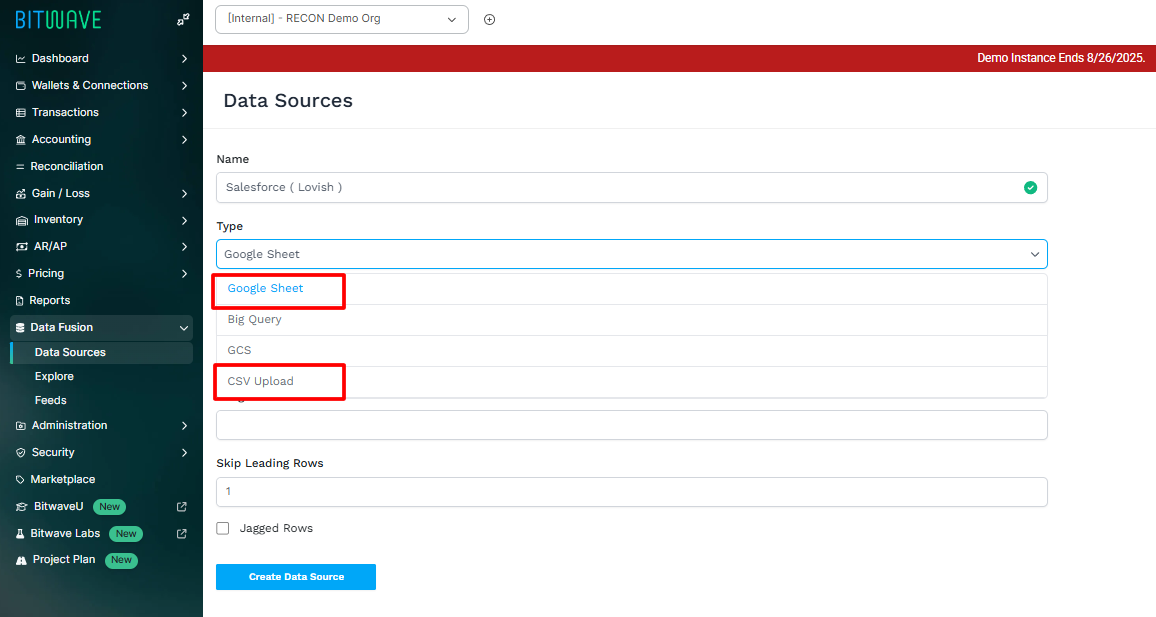
Choose your data source Type:
-
Google Sheets: Make sure to grant viewer access to the Bitwave email address displayed on the screen. For the Range, enter the name of the tab containing your data.
-
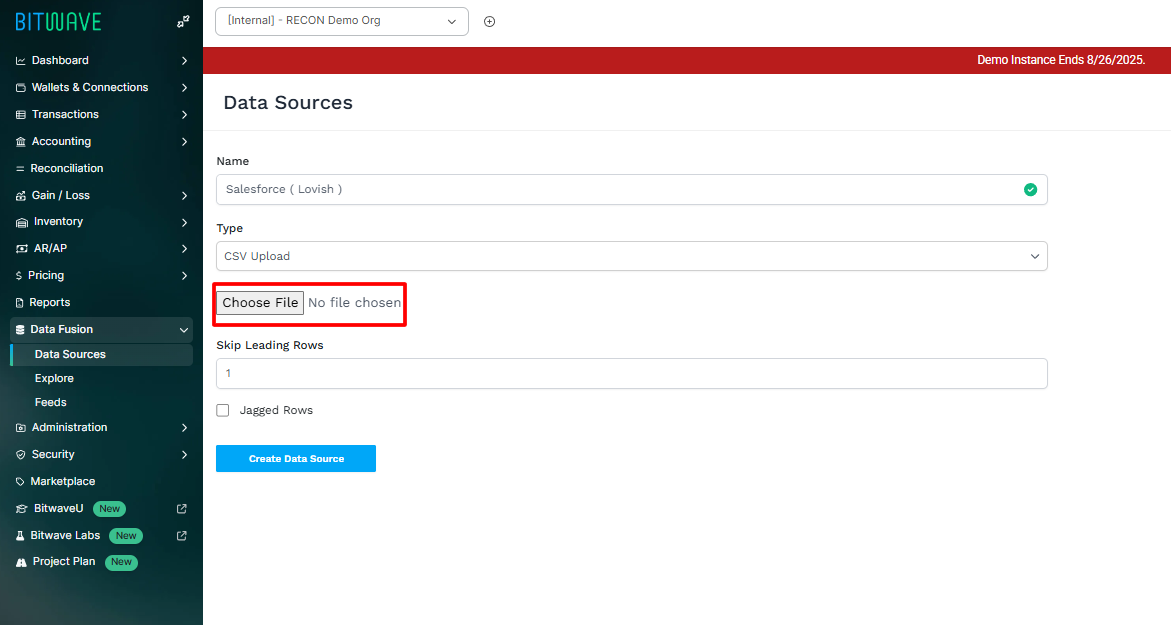
CSV Upload: Click upload to select and upload your CSV file.
-
-
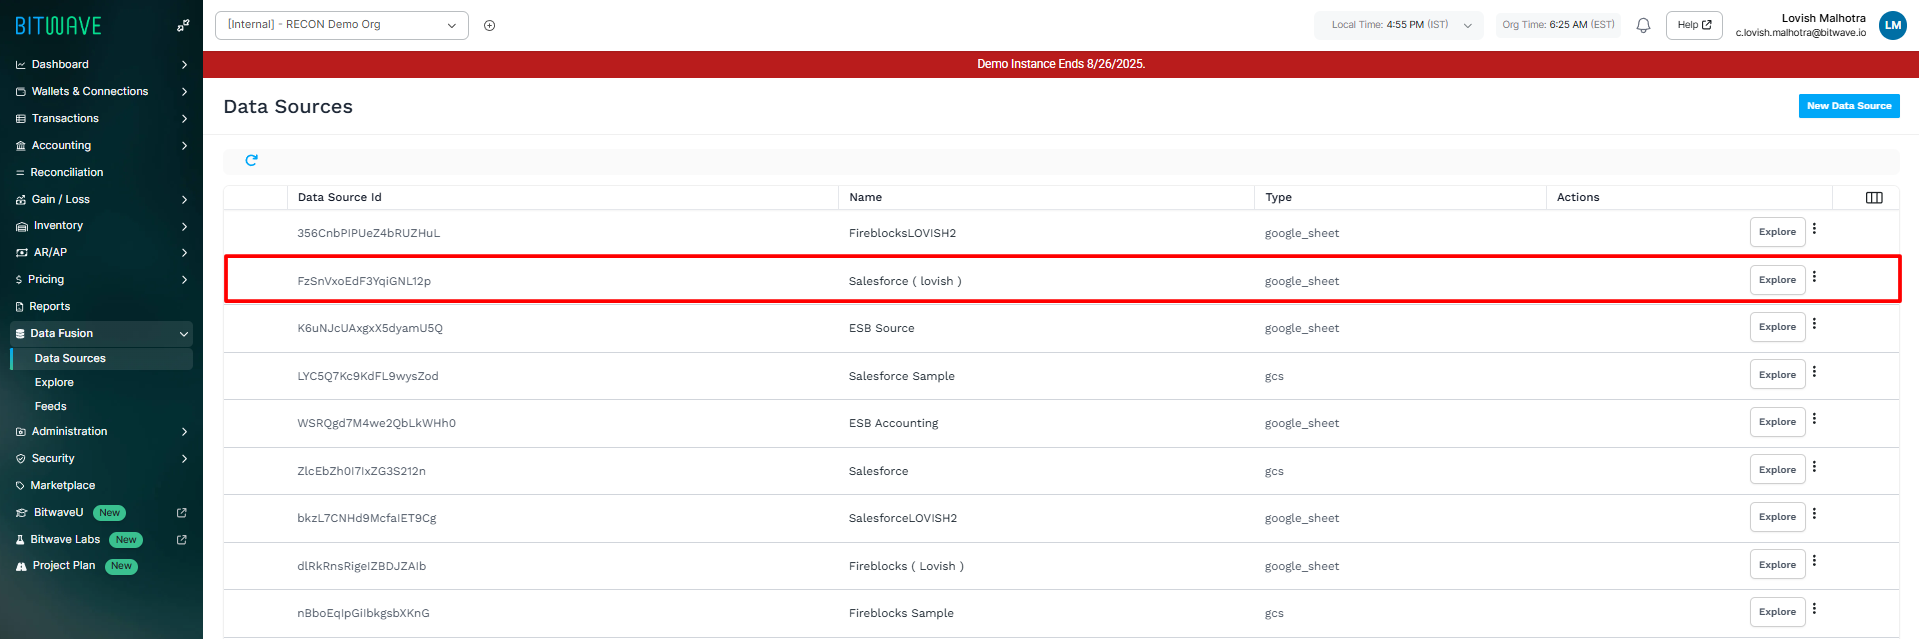
Once all the fields are filled out, click Create Data Source.
Your new data source will appear on the Data Sources page with a unique ID. Repeat this process to create a second data source that you'll use for comparison.
For this guide, we'll use sample Salesforce and Fireblocks data sources.
Running a Reconciliation
Now that your data sources are ready, you can start the reconciliation process.
-
Set Up a New Reconciliation
-
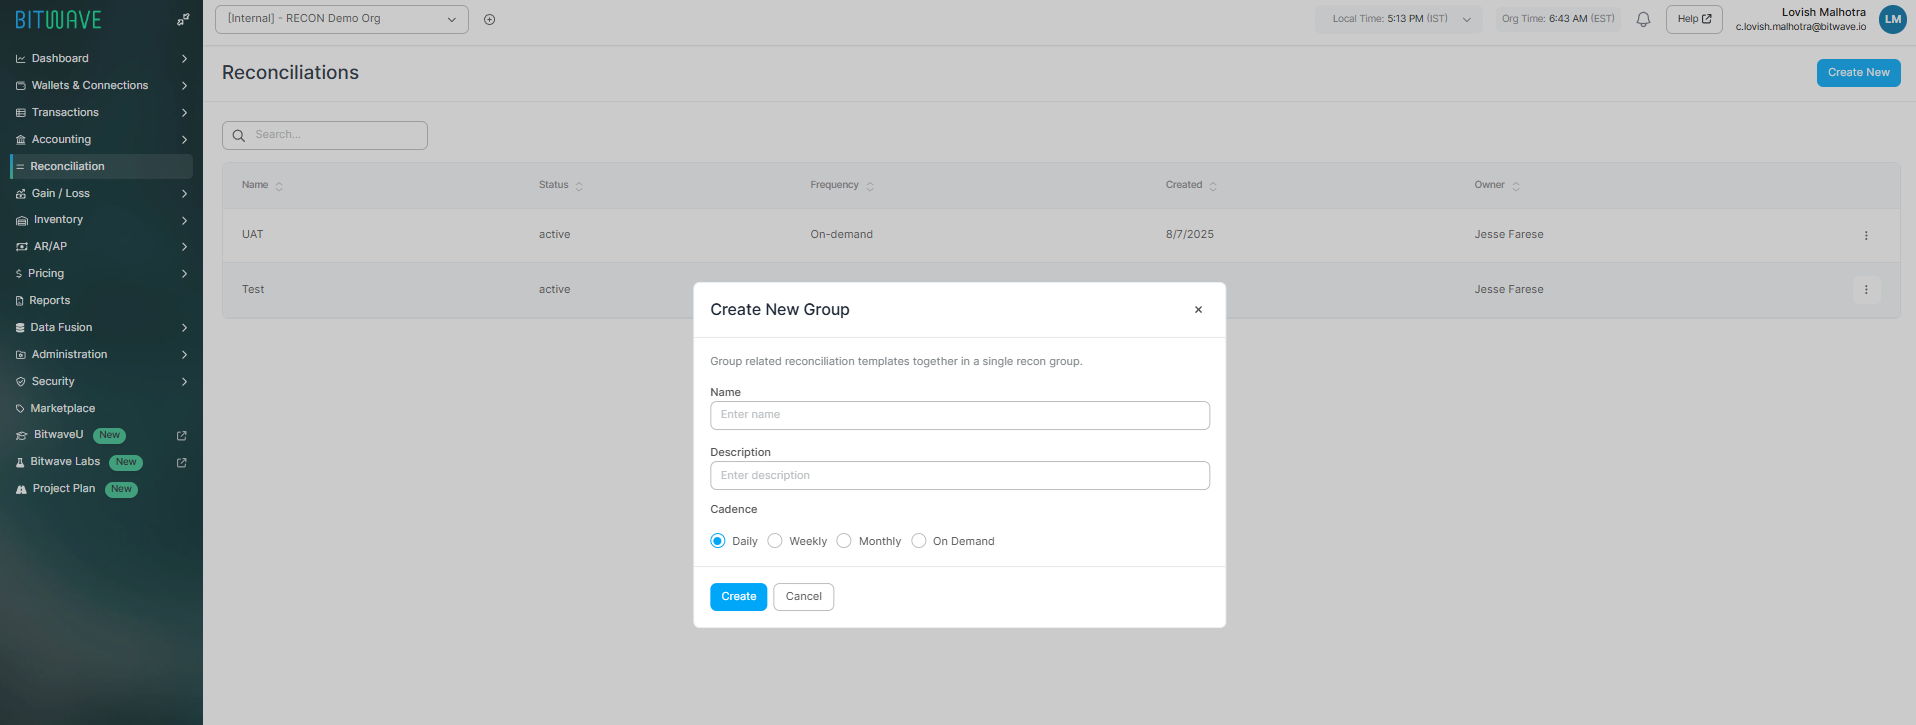
Go to Reconciliation and click Create new to create a reconciliation group.
-
Enter a Name, Description, and Cadence (how often you'll run this reconciliation). This will create Group related reconciliation templates together in a single recon group.
-
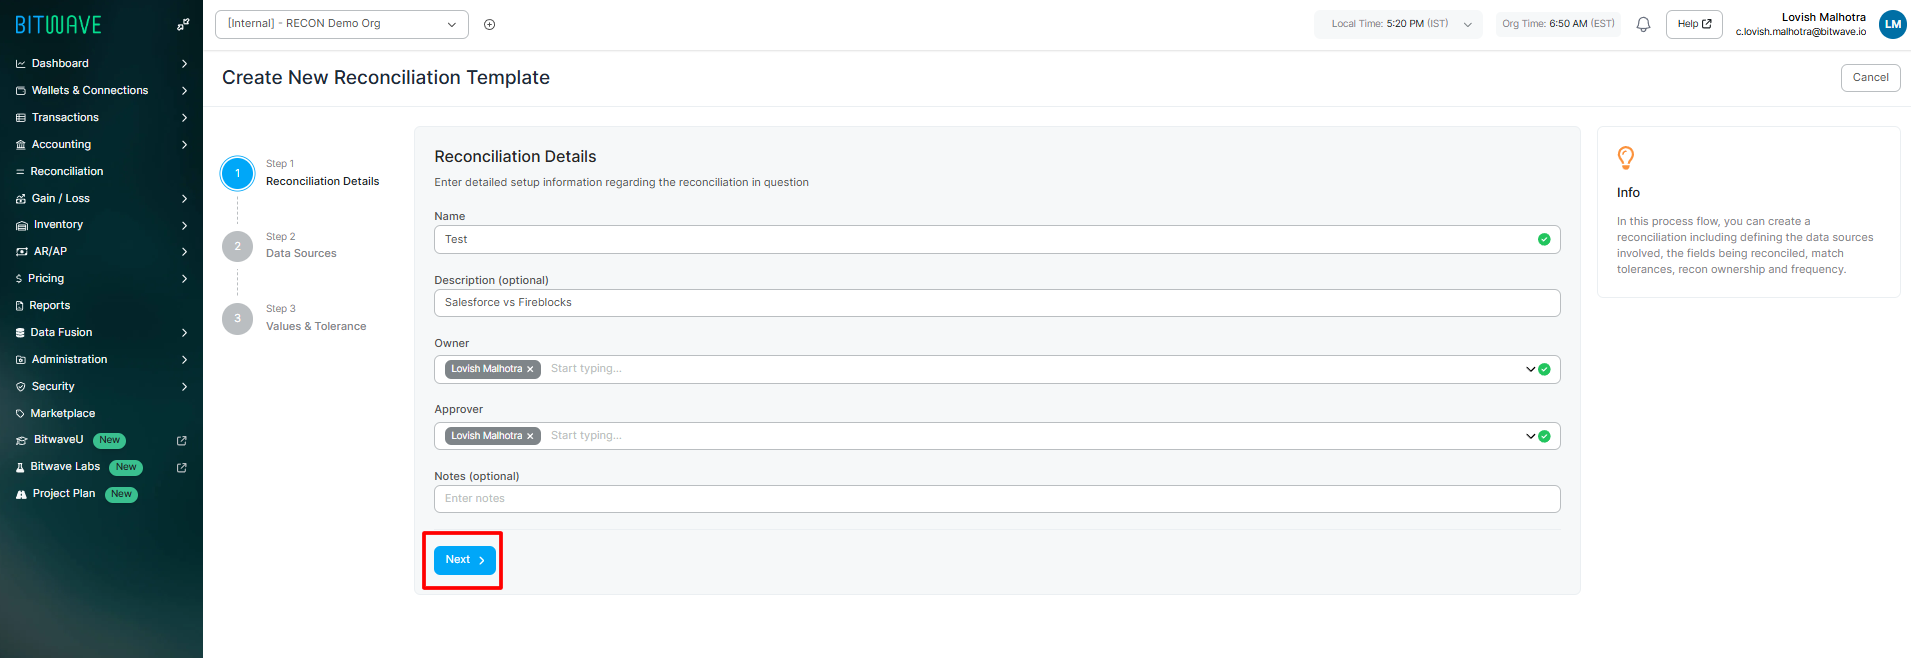
Once the group is created, click on it and then click Create.
-
Fill in the details for your new reconciliation and click Next.
-
-
Configure Your Reconciliation
-
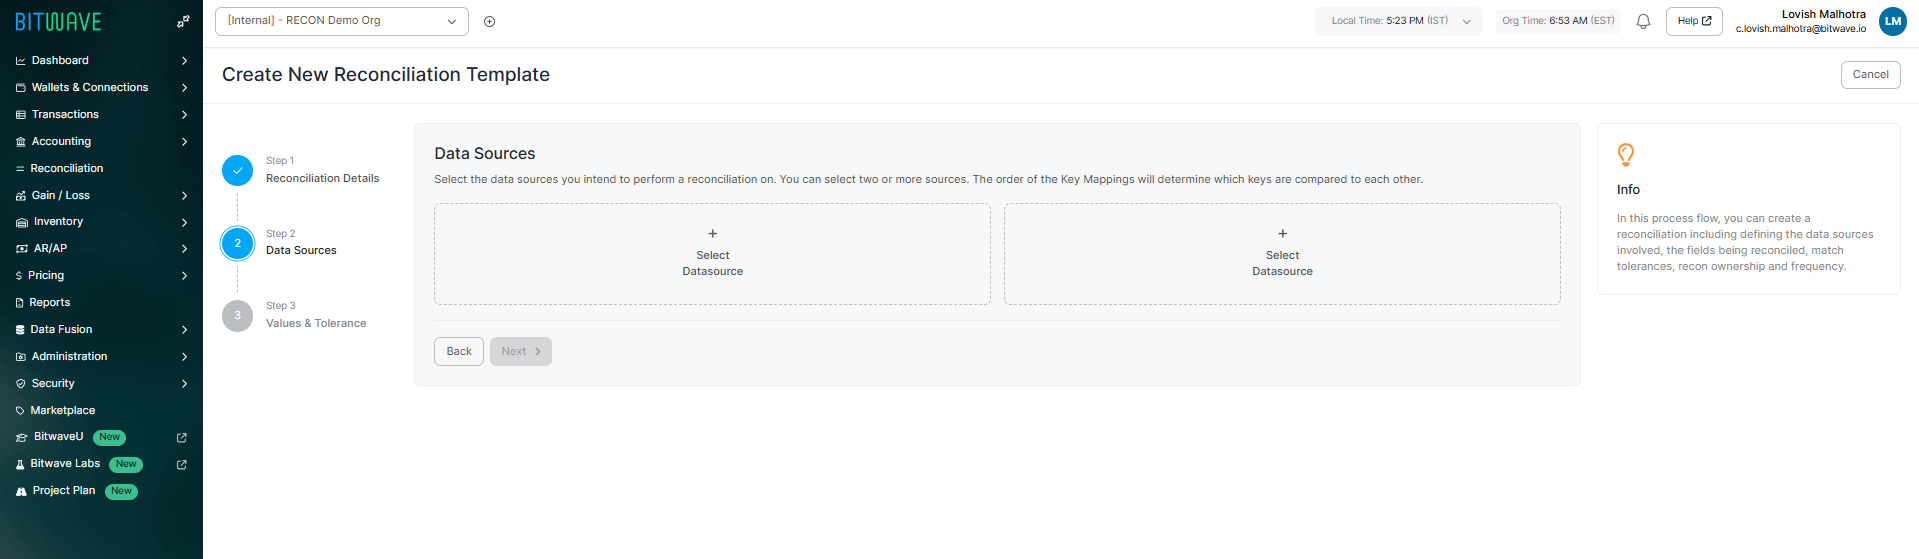
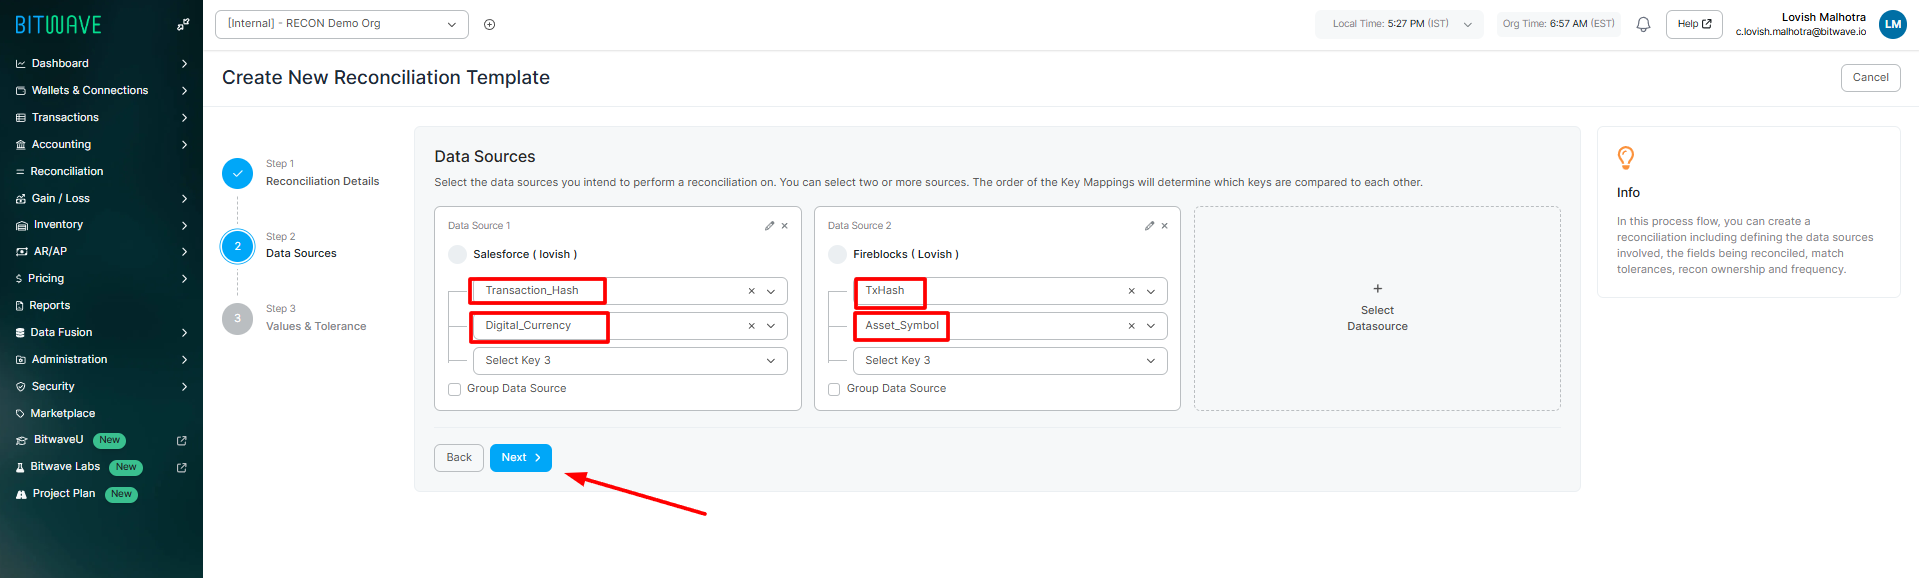
On the next screen, select your two data sources for reconciliation. For example, we'll select Salesforce as Data Source 1 and Fireblocks as Data Source 2.
-
Next, select the common columns (keys), that exist in both data sources. For sample data, we'll choose "transaction hash" as Key 1 and "asset symbol" as Key 2. Click Next.
-
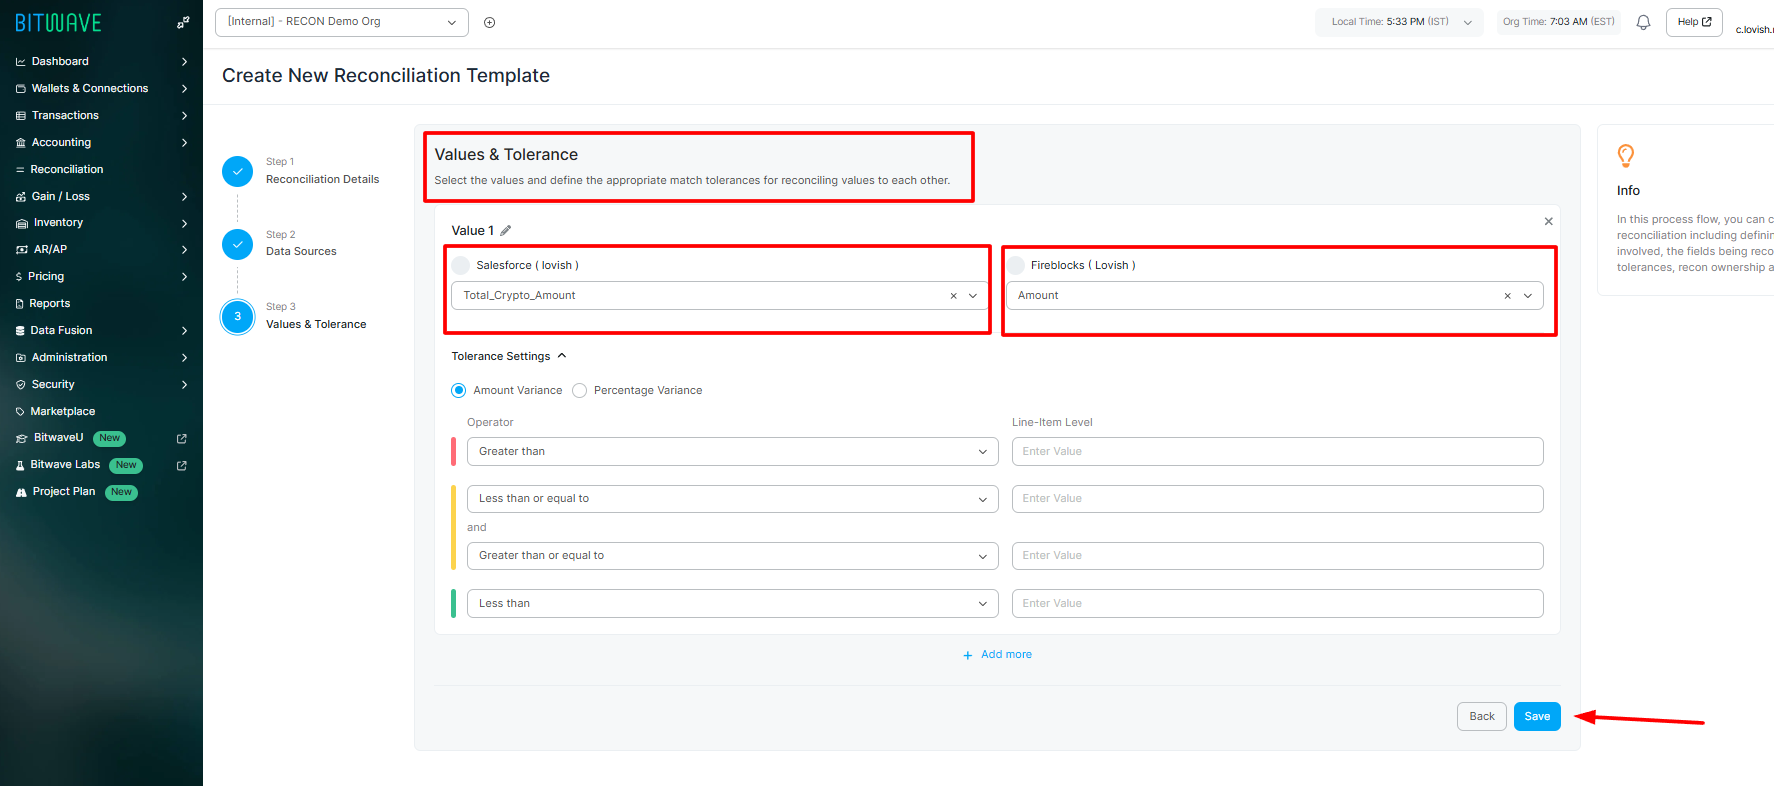
Now, select the specific columns you want to reconcile. Select the values and additionally you can define the appropriate match tolerances for reconciling values to each other.
-
-
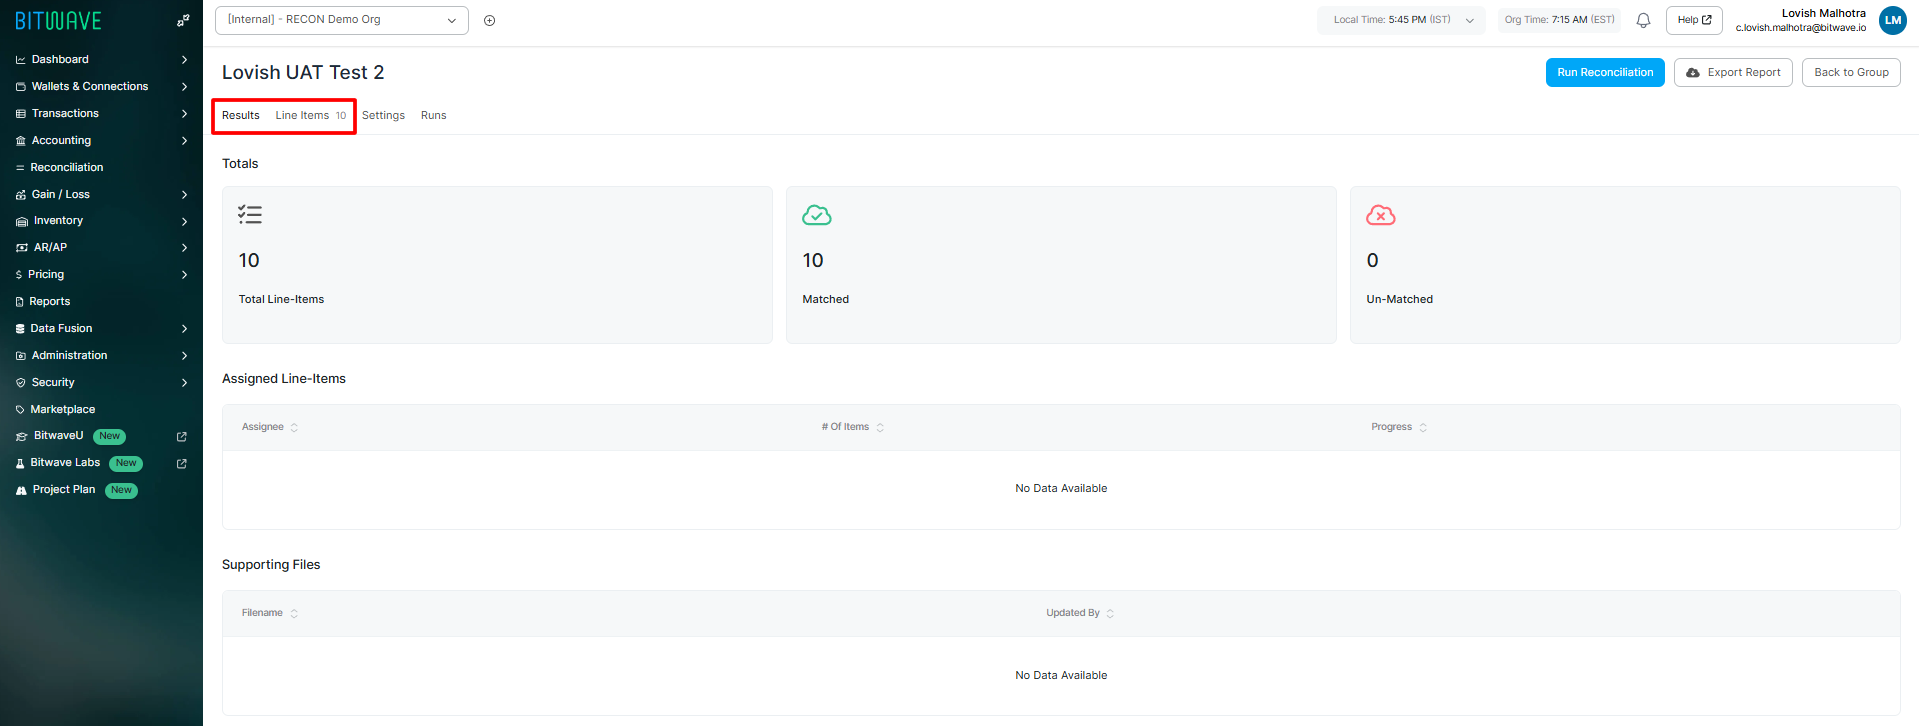
Run and Review the Results
-
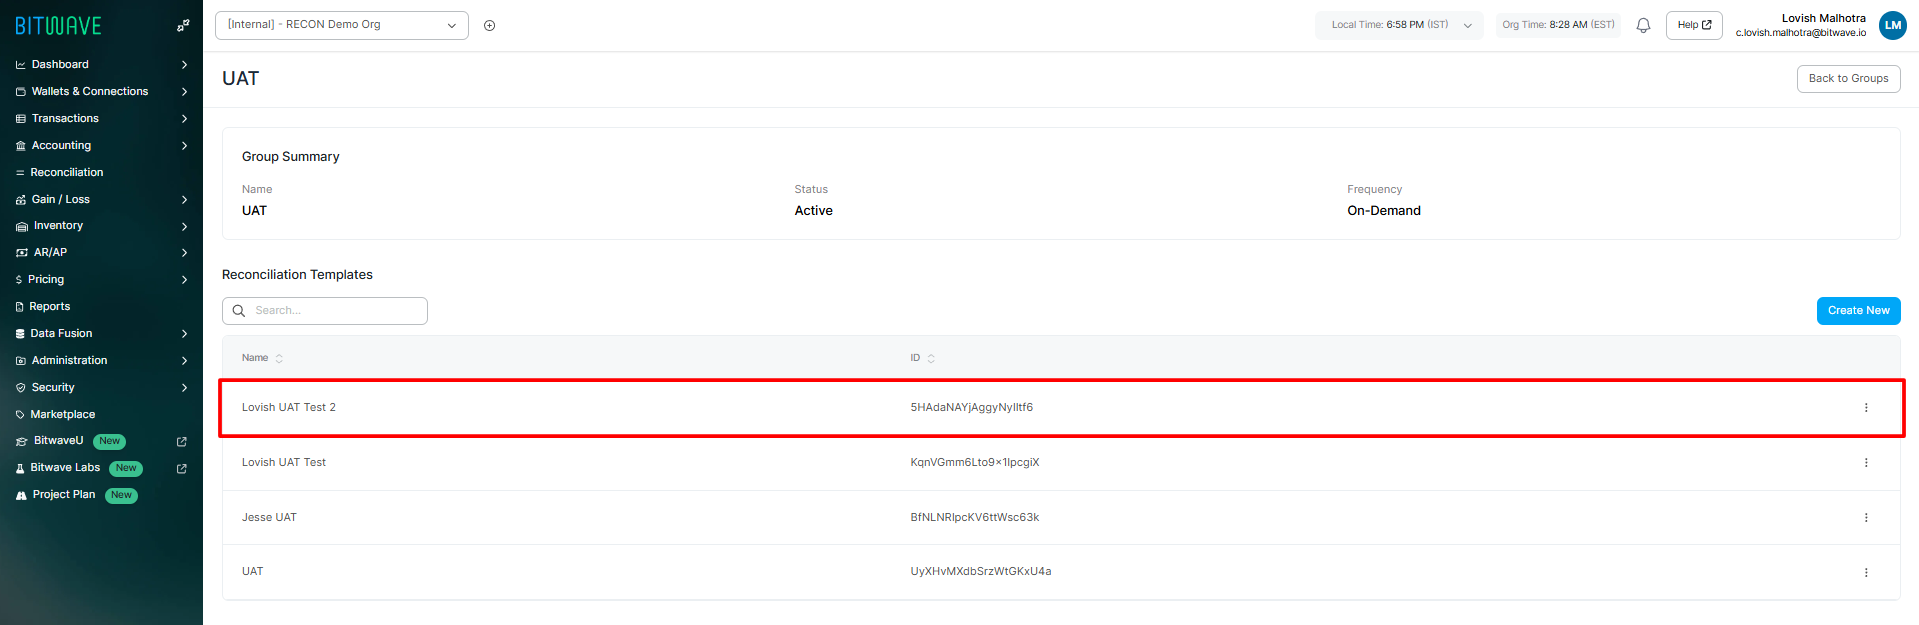
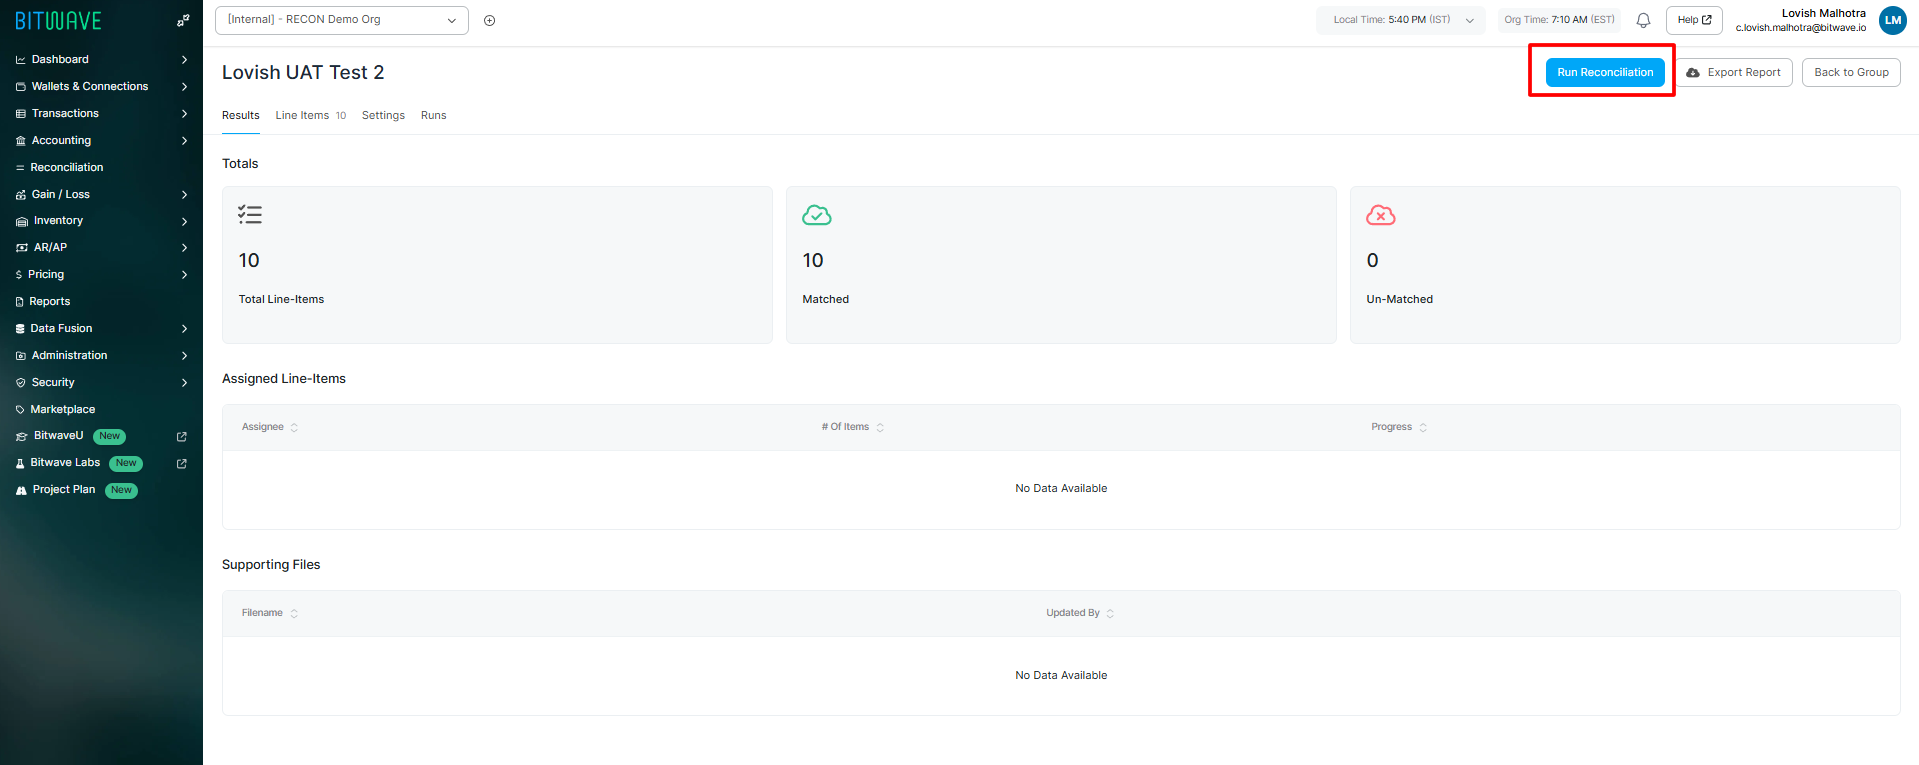
With your reconciliation template created, click on it and select Run Reconciliation.
-
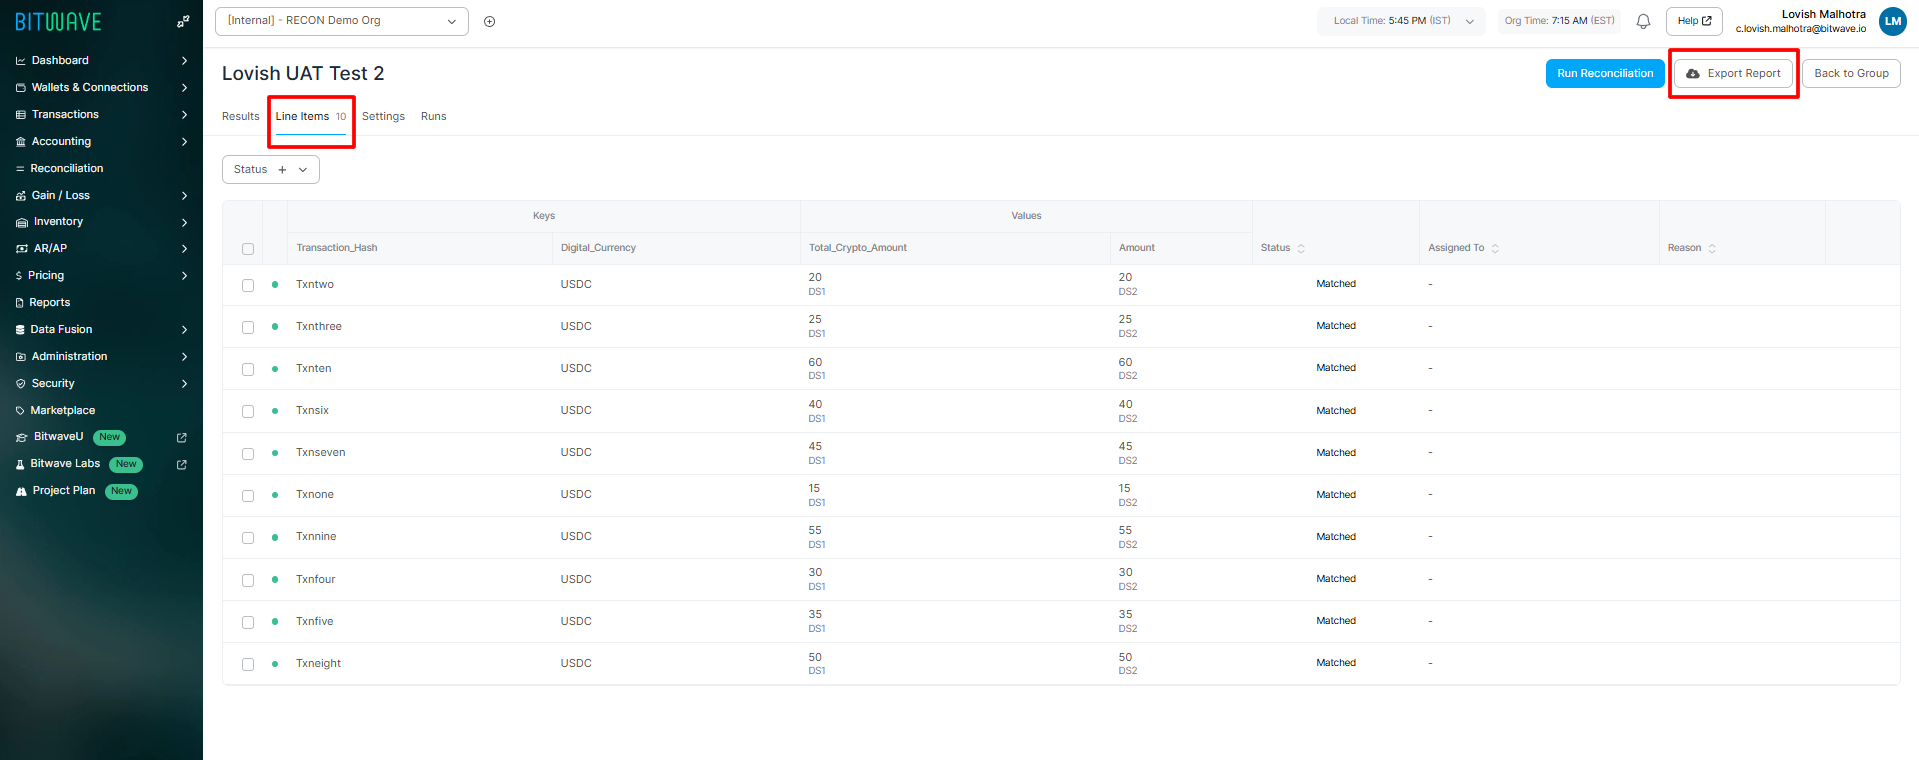
After the reconciliation runs successfully, you can view the results. For a detailed breakdown, click Line items to review the results in the UI, or Export Report to download a full report.
-
Updated 10 months ago