Xero Integration and Testing Guide
This document provides step-by-step instructions on how to set up the connection between Bitwave and Xero.
Create Connection
- Login to app.bitwave.io
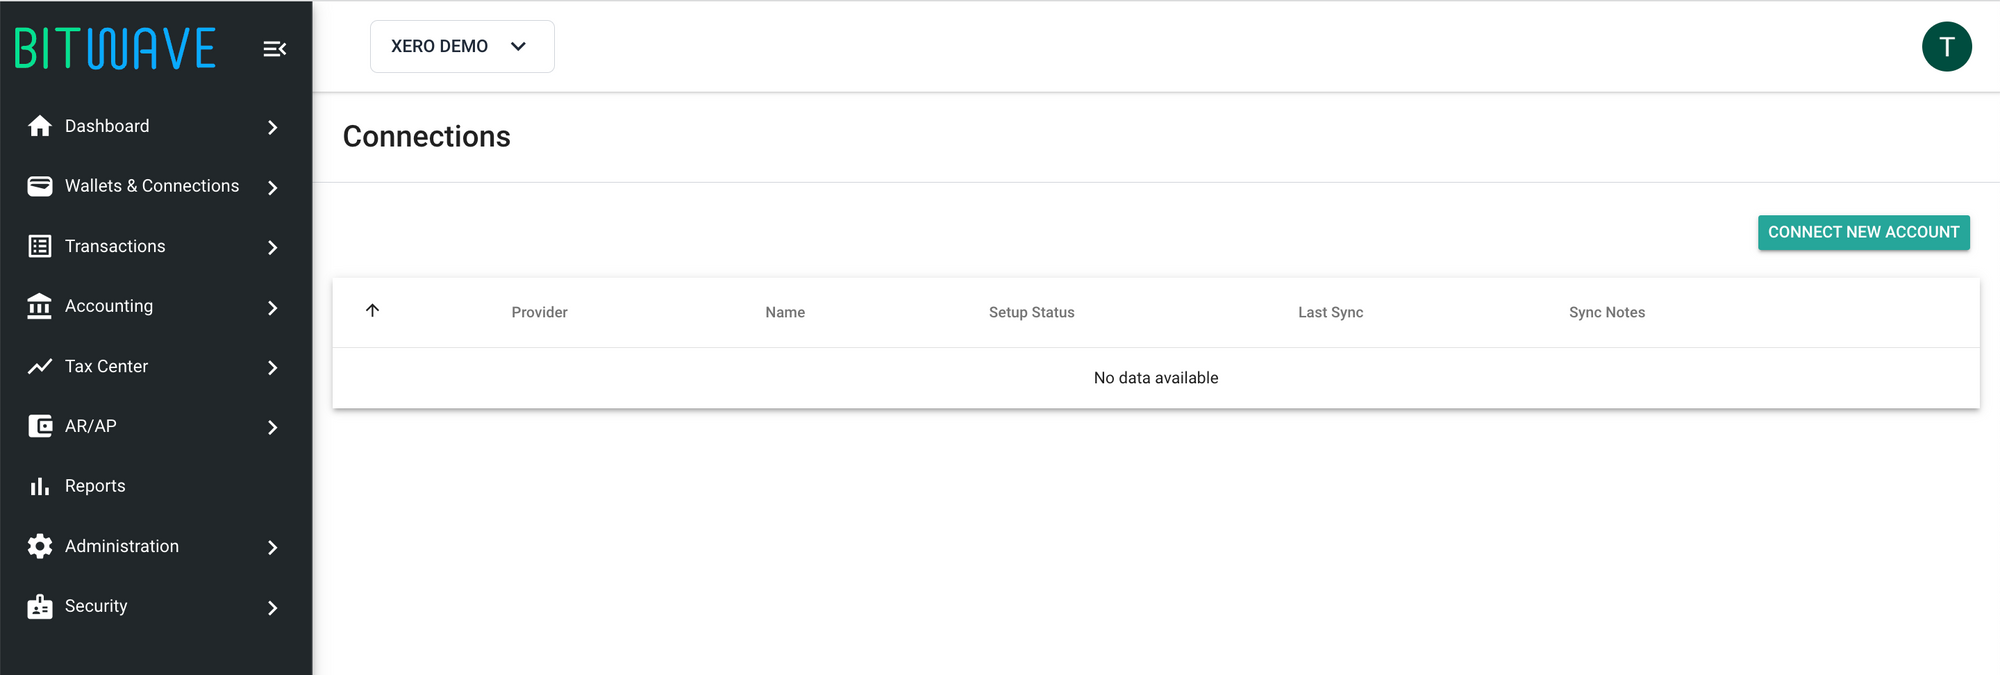
- Go to Wallets & Connections → Connections
- Click CREATE NEW ACCOUNT
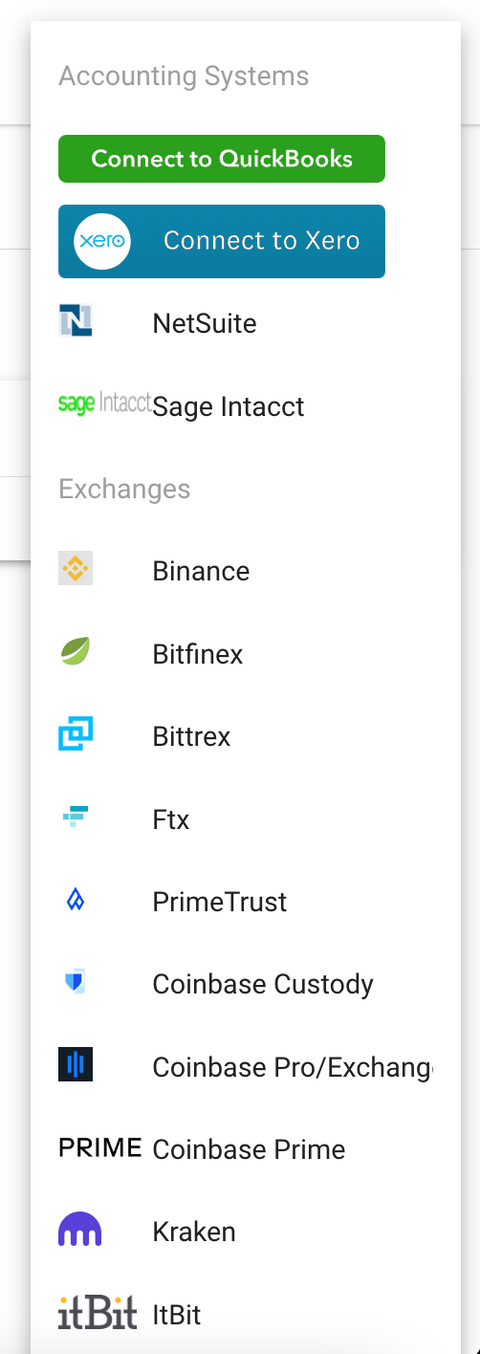
Click Connect to Xero button
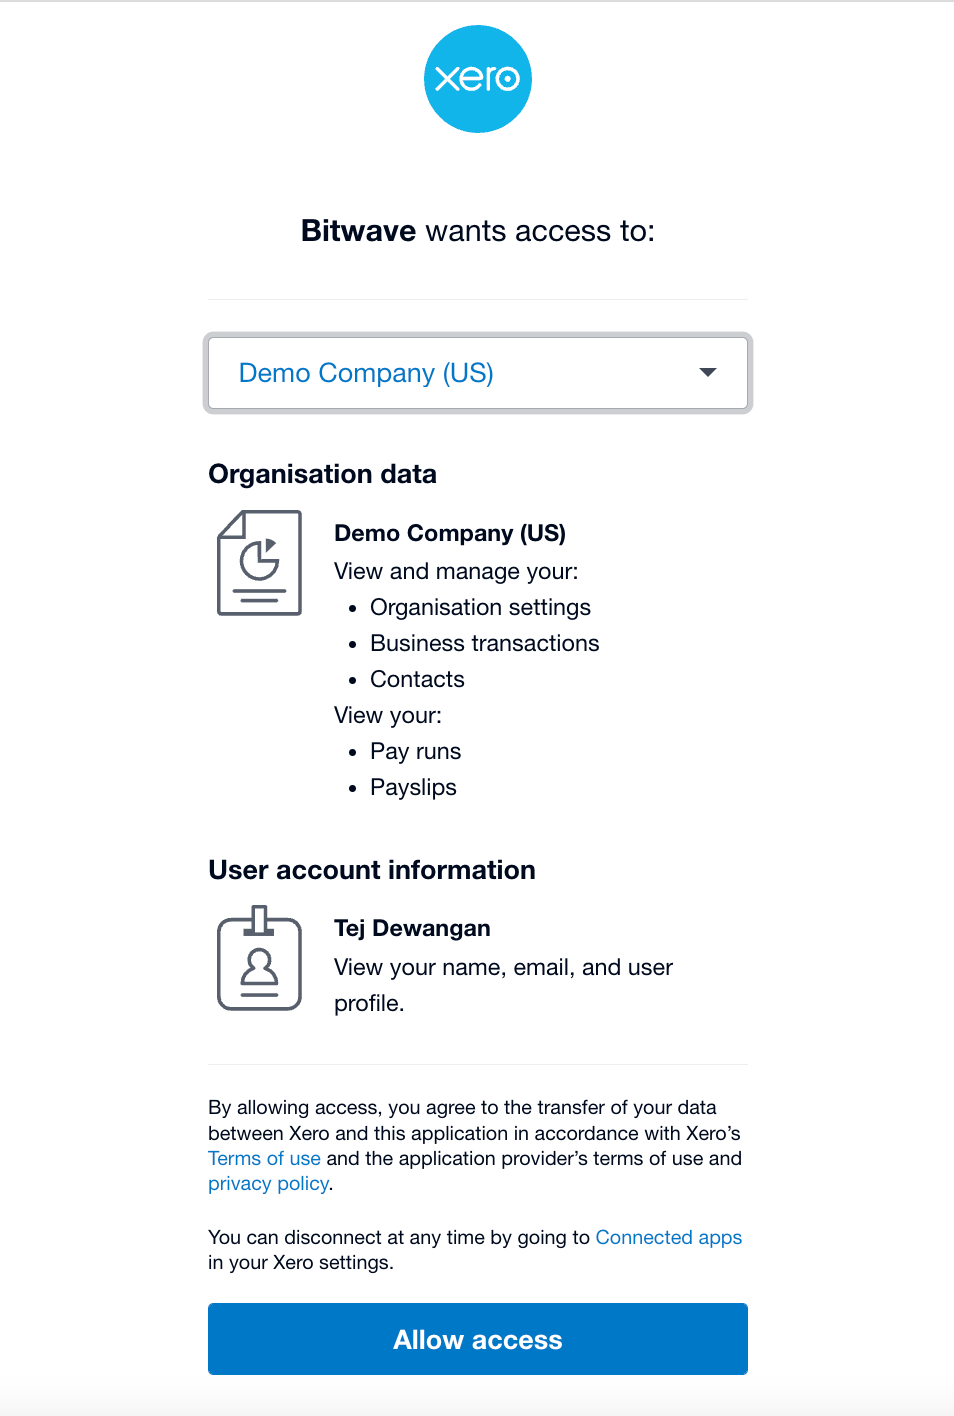
- Login into Xero, select Organization you want to connect, and click Allow access
- Click FINISH SETUP button

- Enter Account Code and Fee Account Code, and click Save

- Click SYNC button

Sync Categories
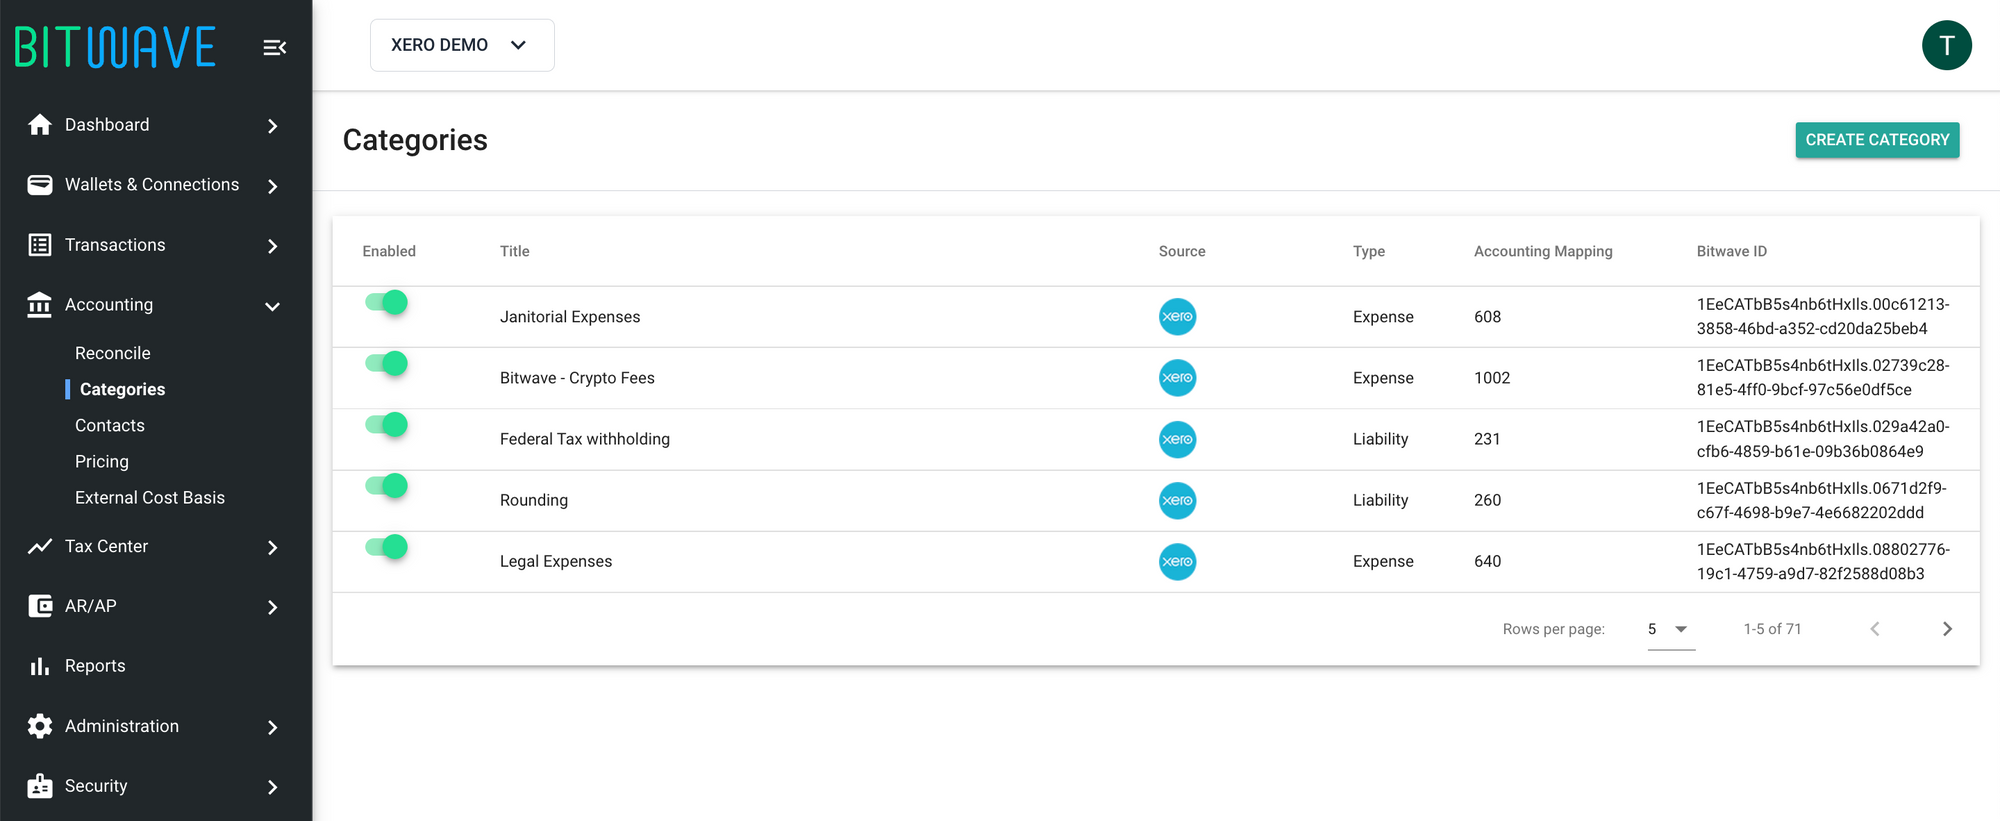
GL Chart of Accounts are automatically synced to Bitwave as Categories. Users can manually sync Chart of Accounts as well by clicking SYNC button in Connections page.
To review Categories, goto Accounting → Categories
Sync Contacts
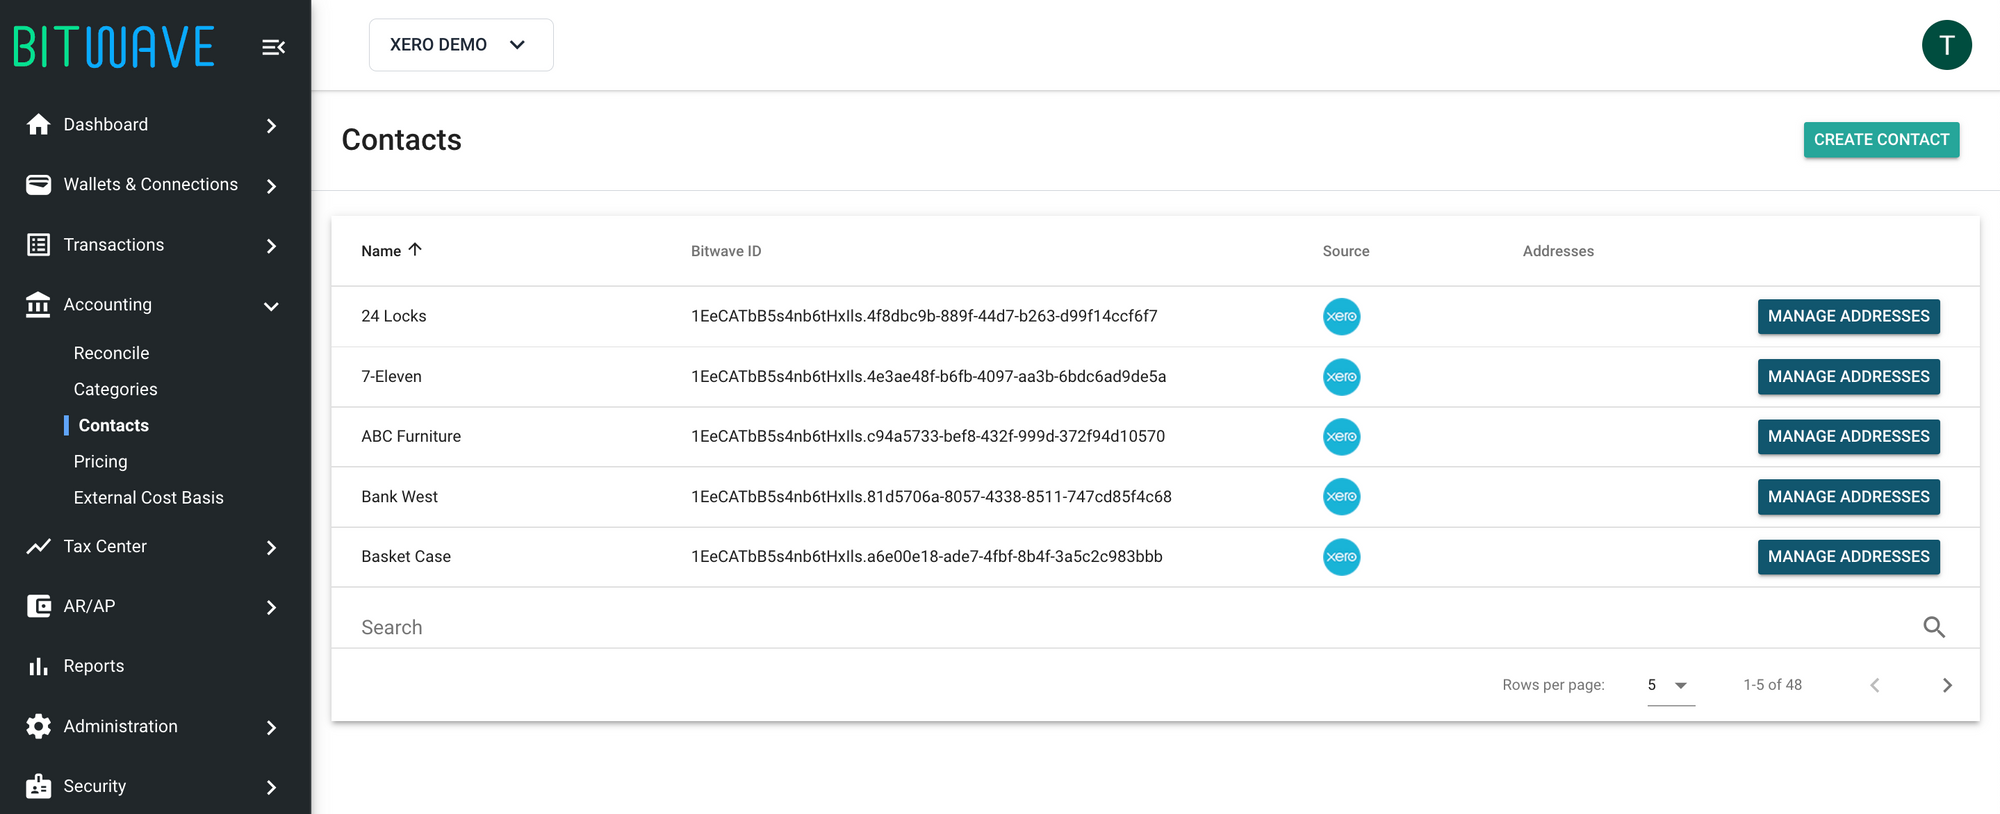
Customers and Vendors are automatically synced to Bitwave as Contacts. Users can manually sync Customers and Vendors as well by clicking SYNC button in Connections page.
To review Contacts, goto Accounting → Contacts
Sync Invoices
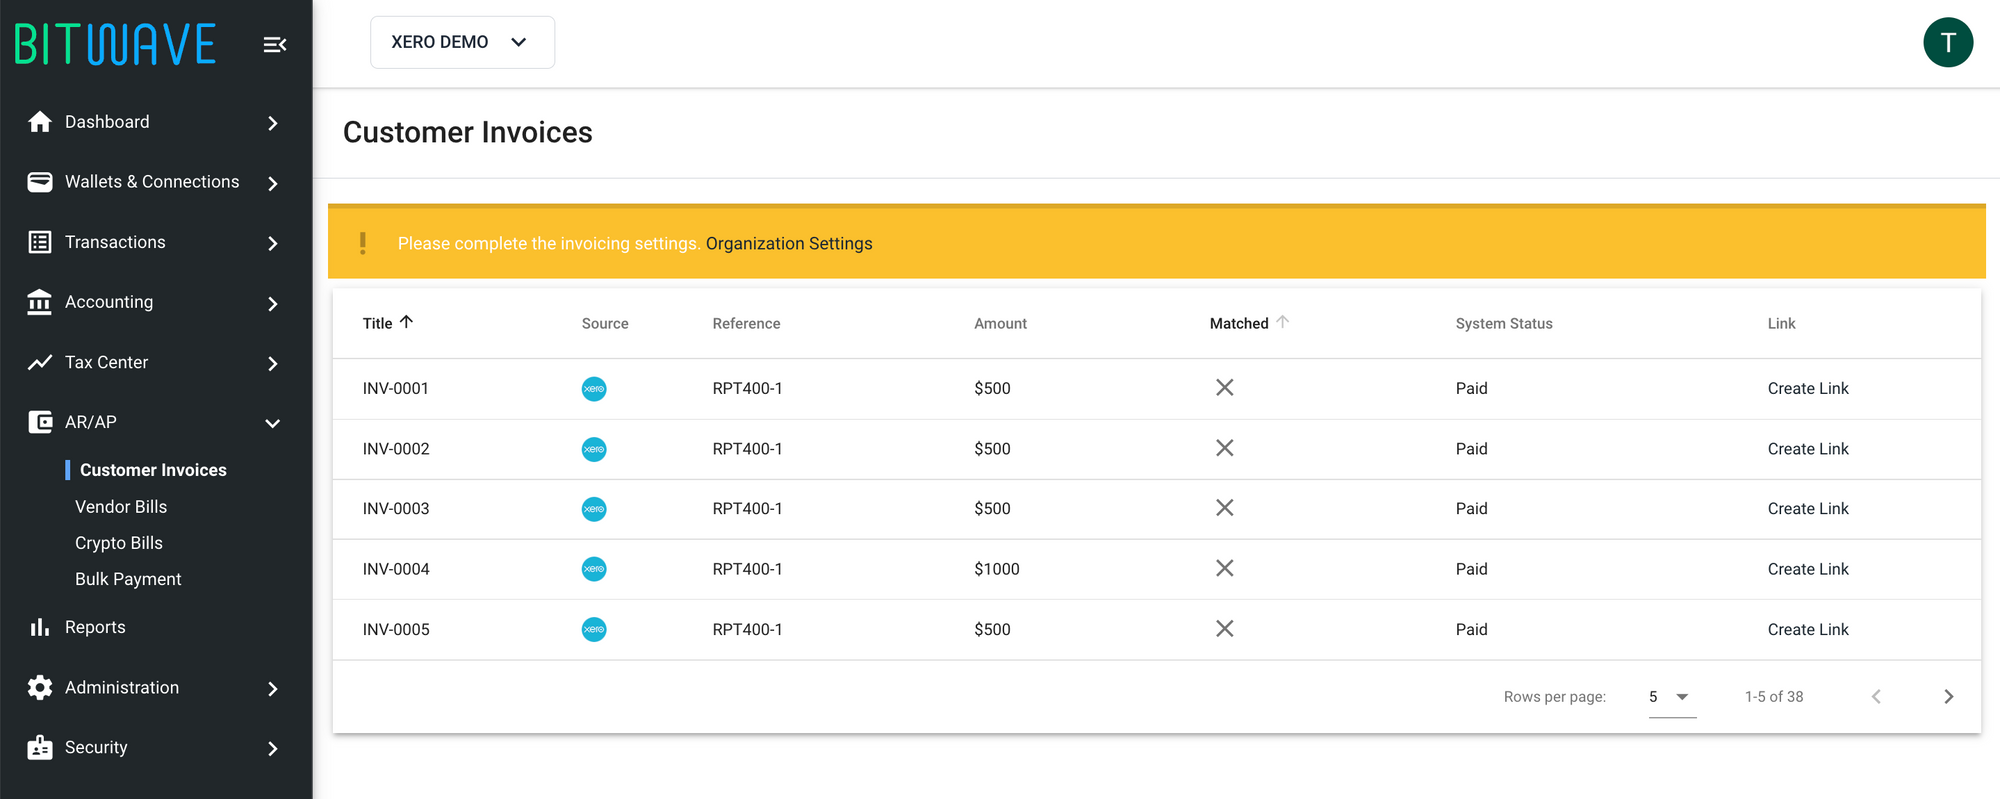
Invoices are automatically synced to Bitwave as Customer Invoices. Users can manually sync Invoices as well by clicking SYNC button in Connections page.
To review Customer Invoices, goto AR/AP → Customer Invoices
Sync Bills
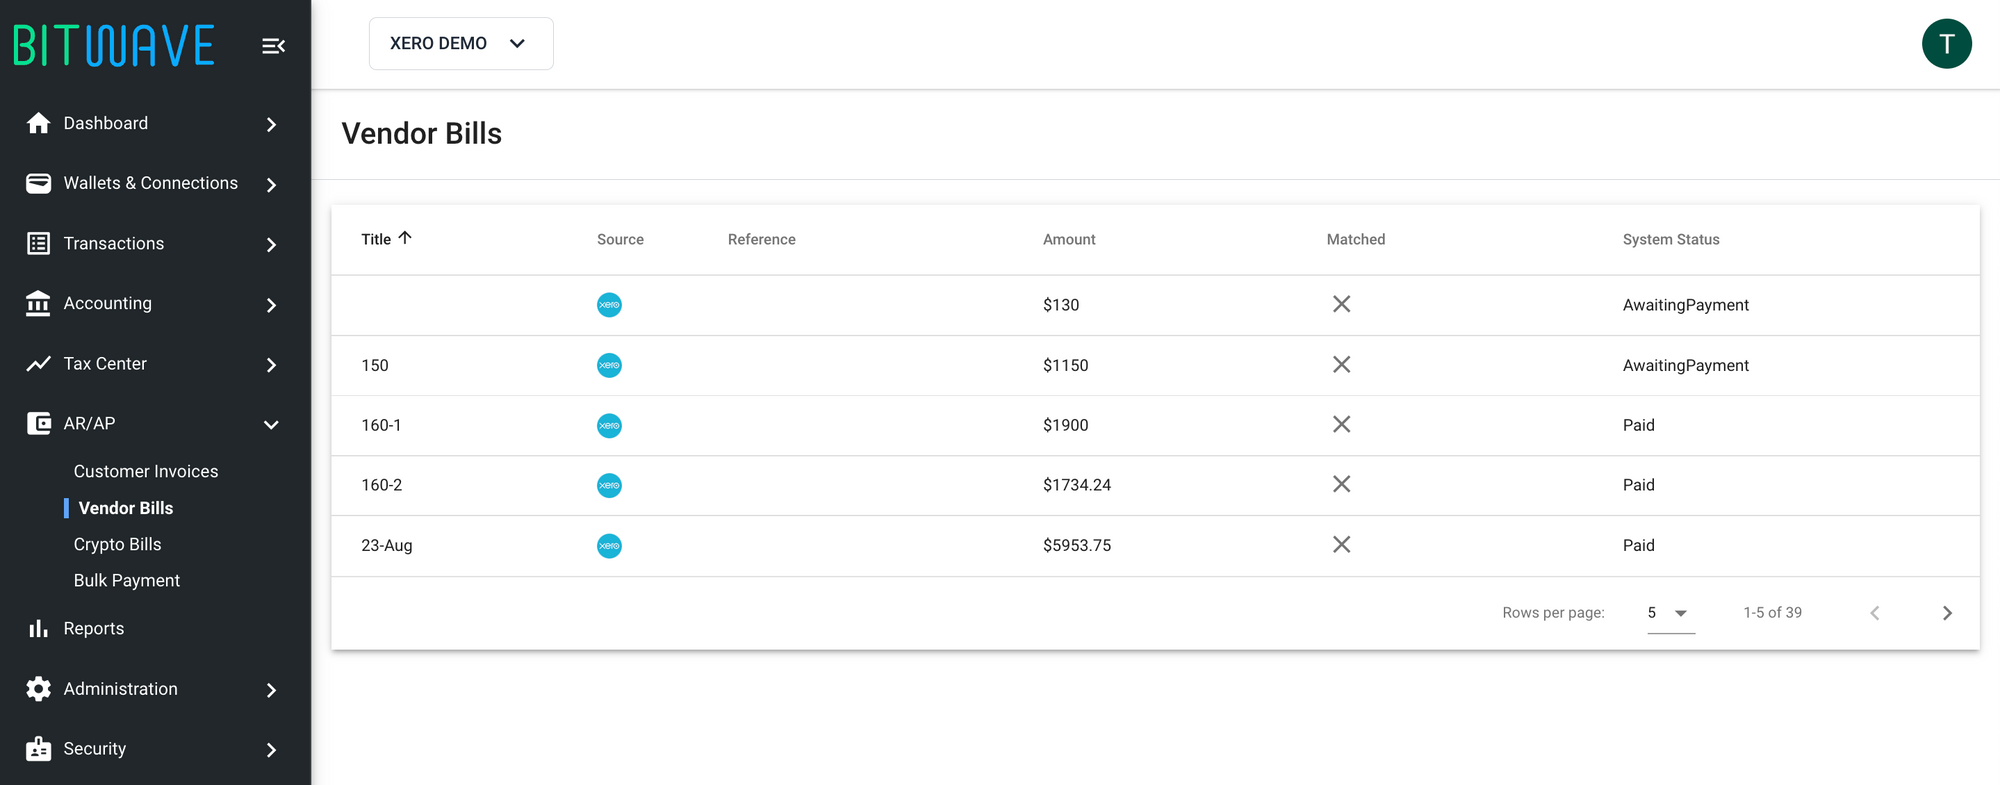
Bills are automatically synced to Bitwave as Vendor Bills. Users can manually sync Vendor Bills as well by clicking SYNC button in Connections page.
To review Customer Invoices, goto AR/AP → Vendor Bills
Reconcile Transactions to Xero
Create Wallet
- Go to Wallets & Connections → Wallets and click CREATE WALLET button
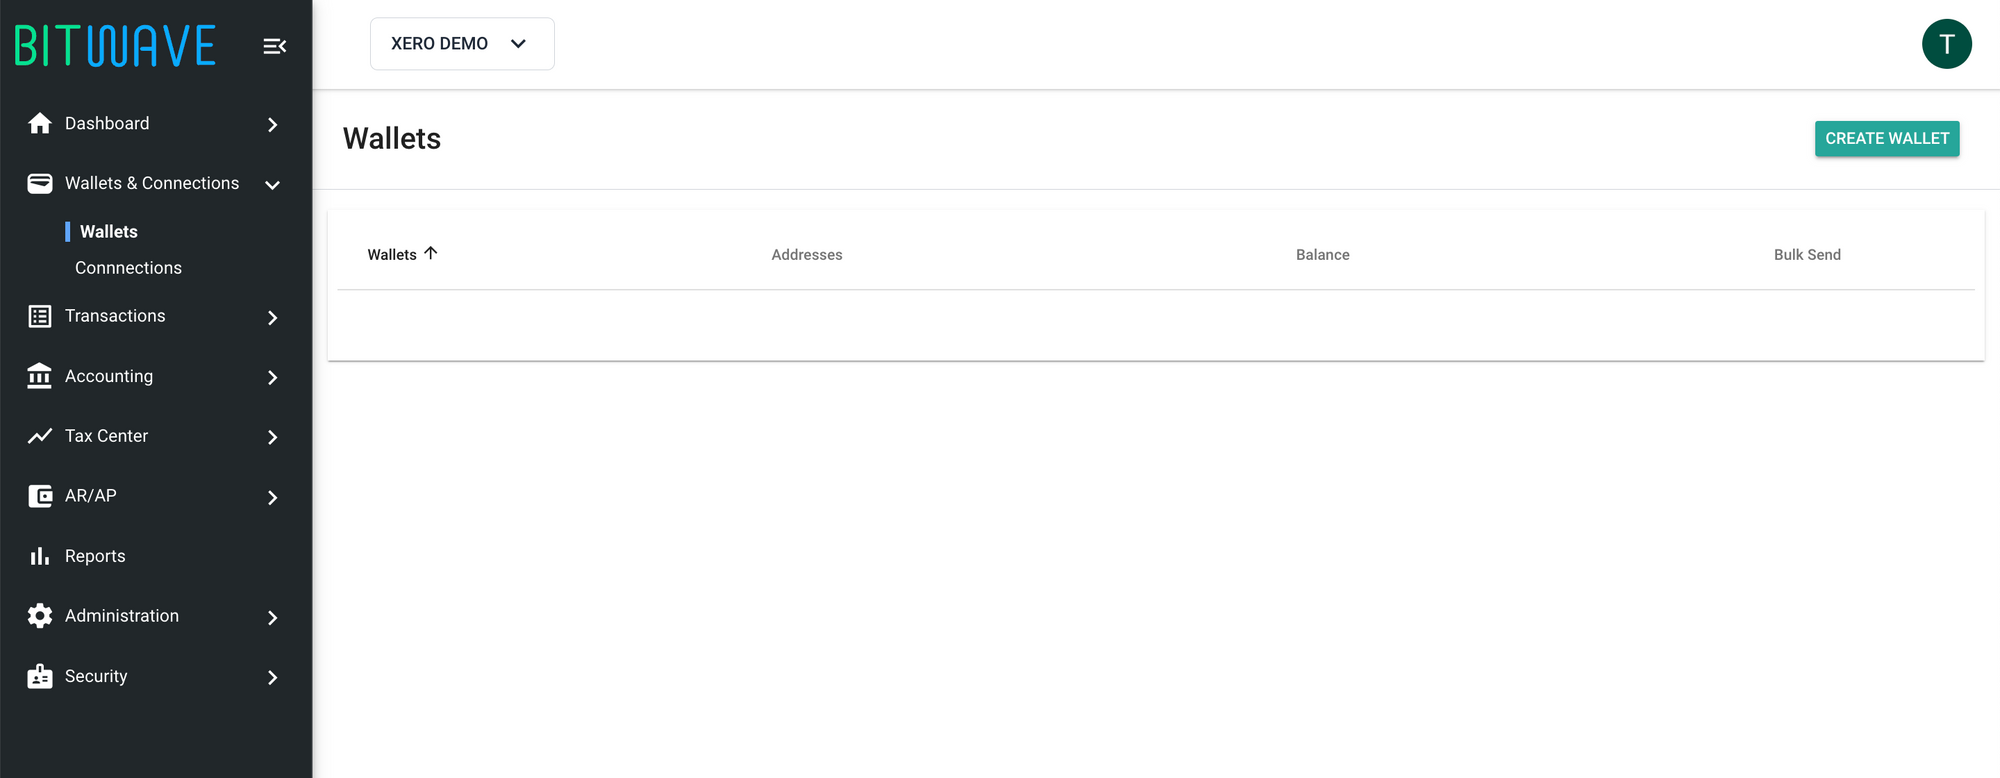
- Select Wallet Type = Manual Wallet and enter Name and Description
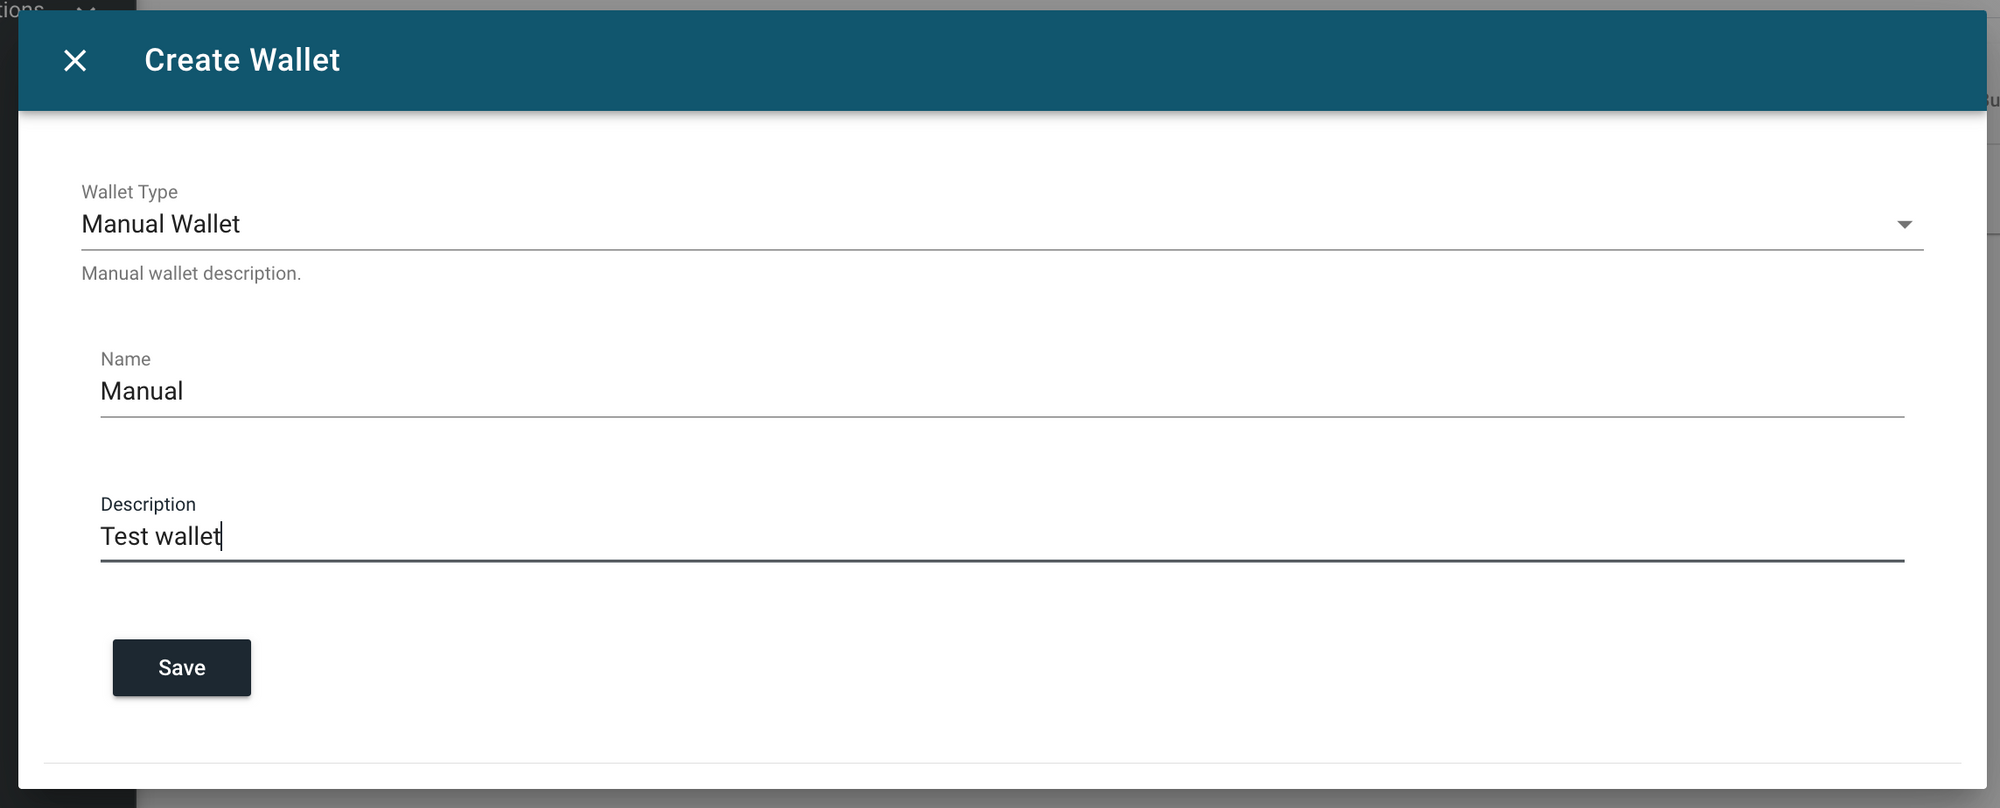
Click Save
Create Transaction
- Go to Transactions → All Transactions
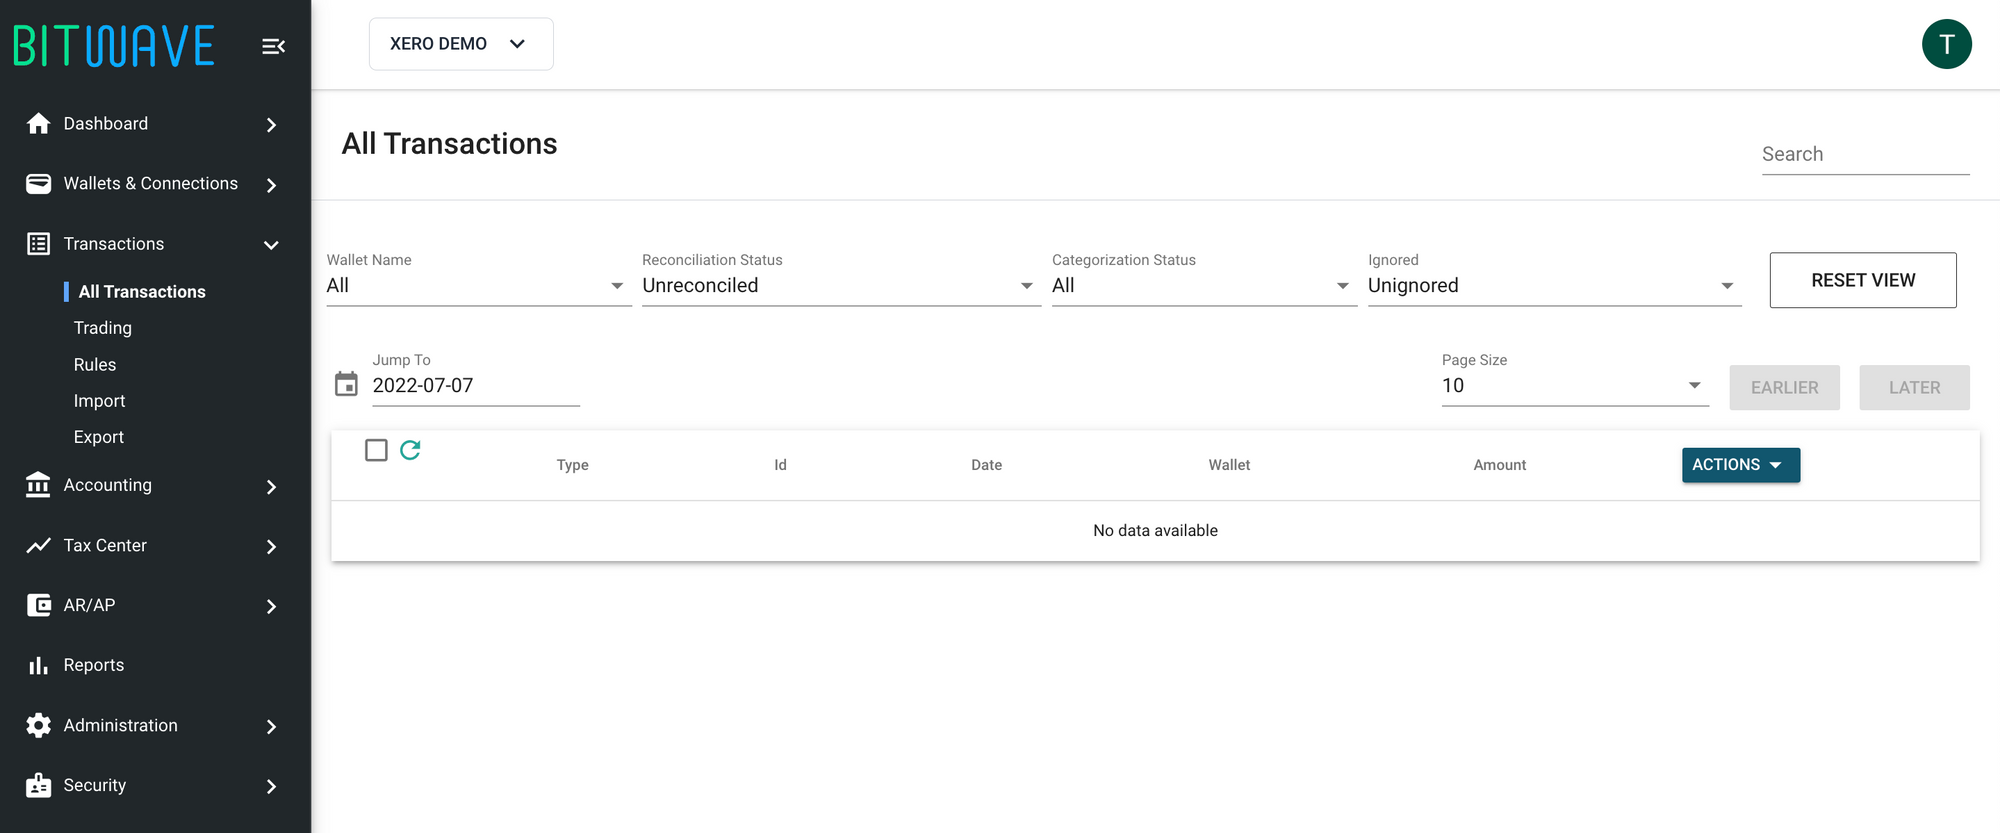
- Click ACTIONS → Create Transaction
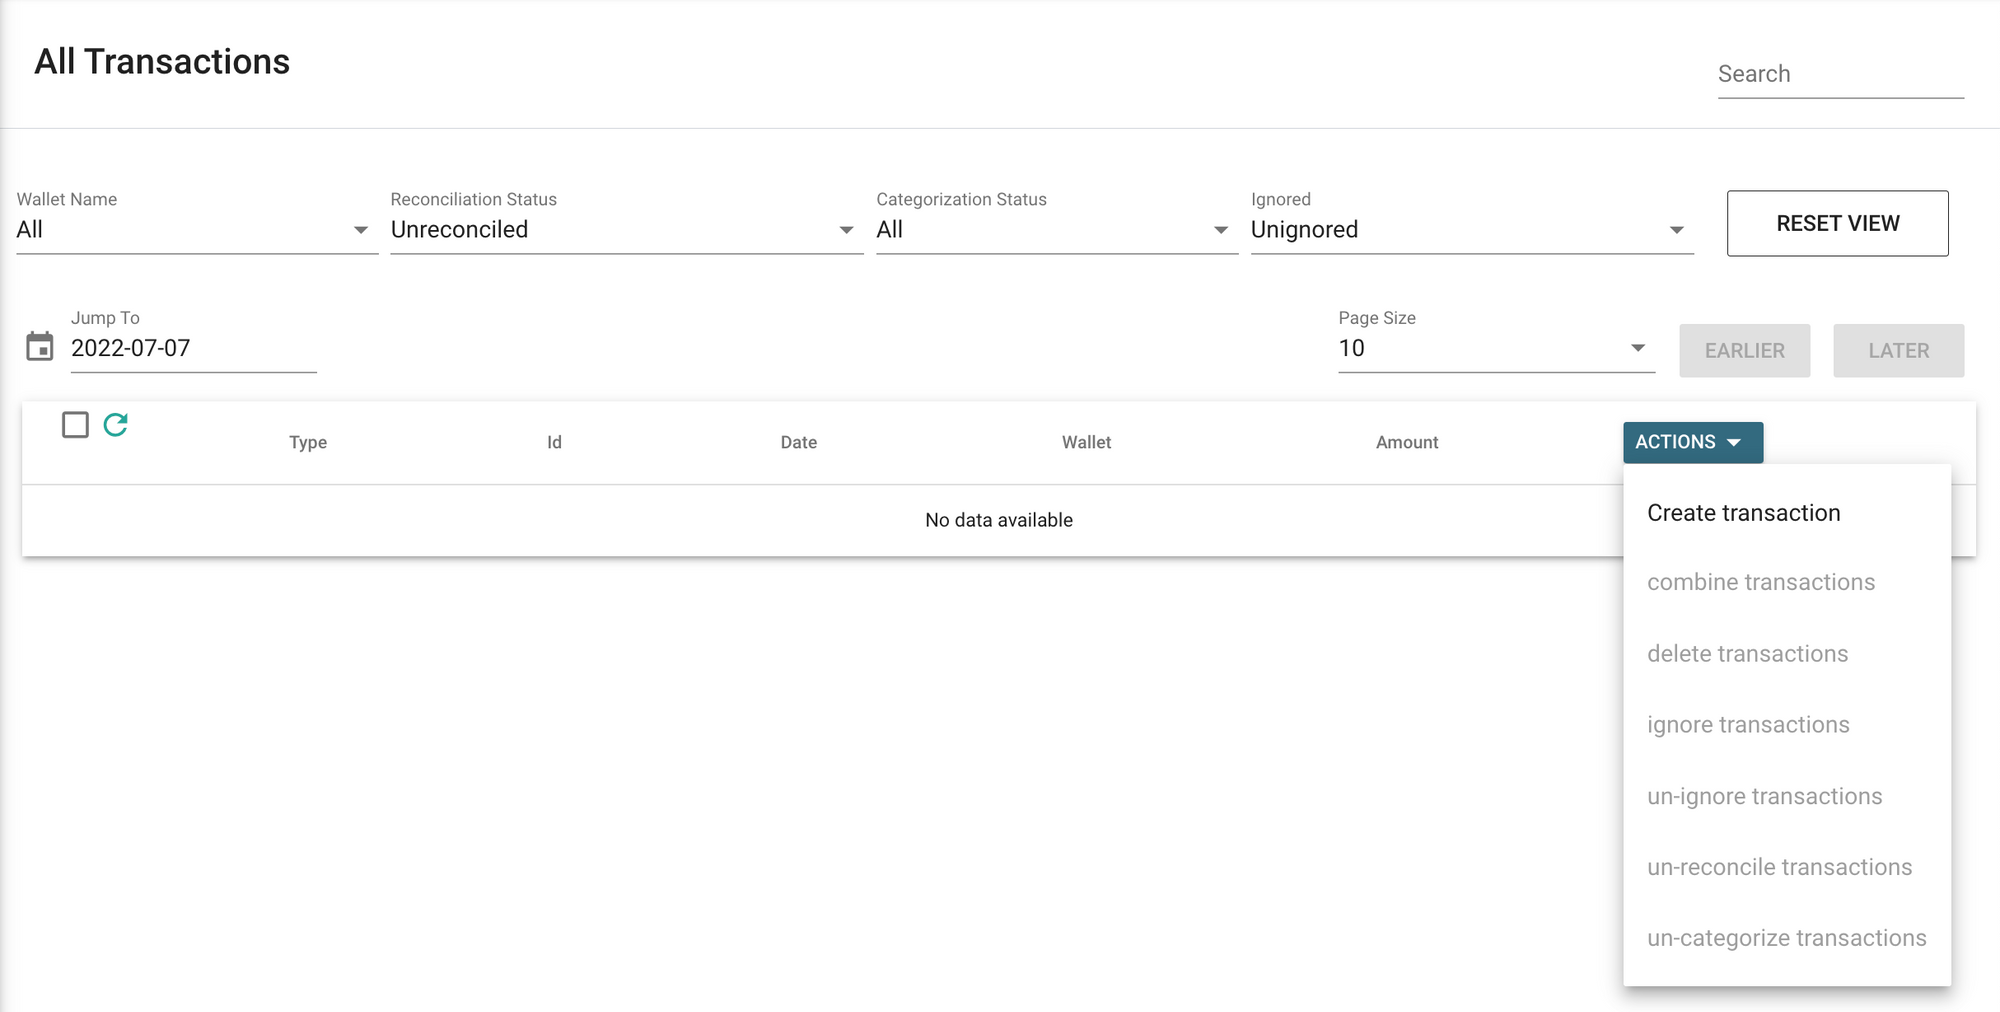
- Enter details as follows
a. Type of Transaction = Manual Transaction
b. Wallet = Manual
c. Transaction Date = <select a past date>
d. Transaction Time = <select a time>
e. Manual Transaction Type = Deposit
f. Amount = 1
g. Coin = ETH
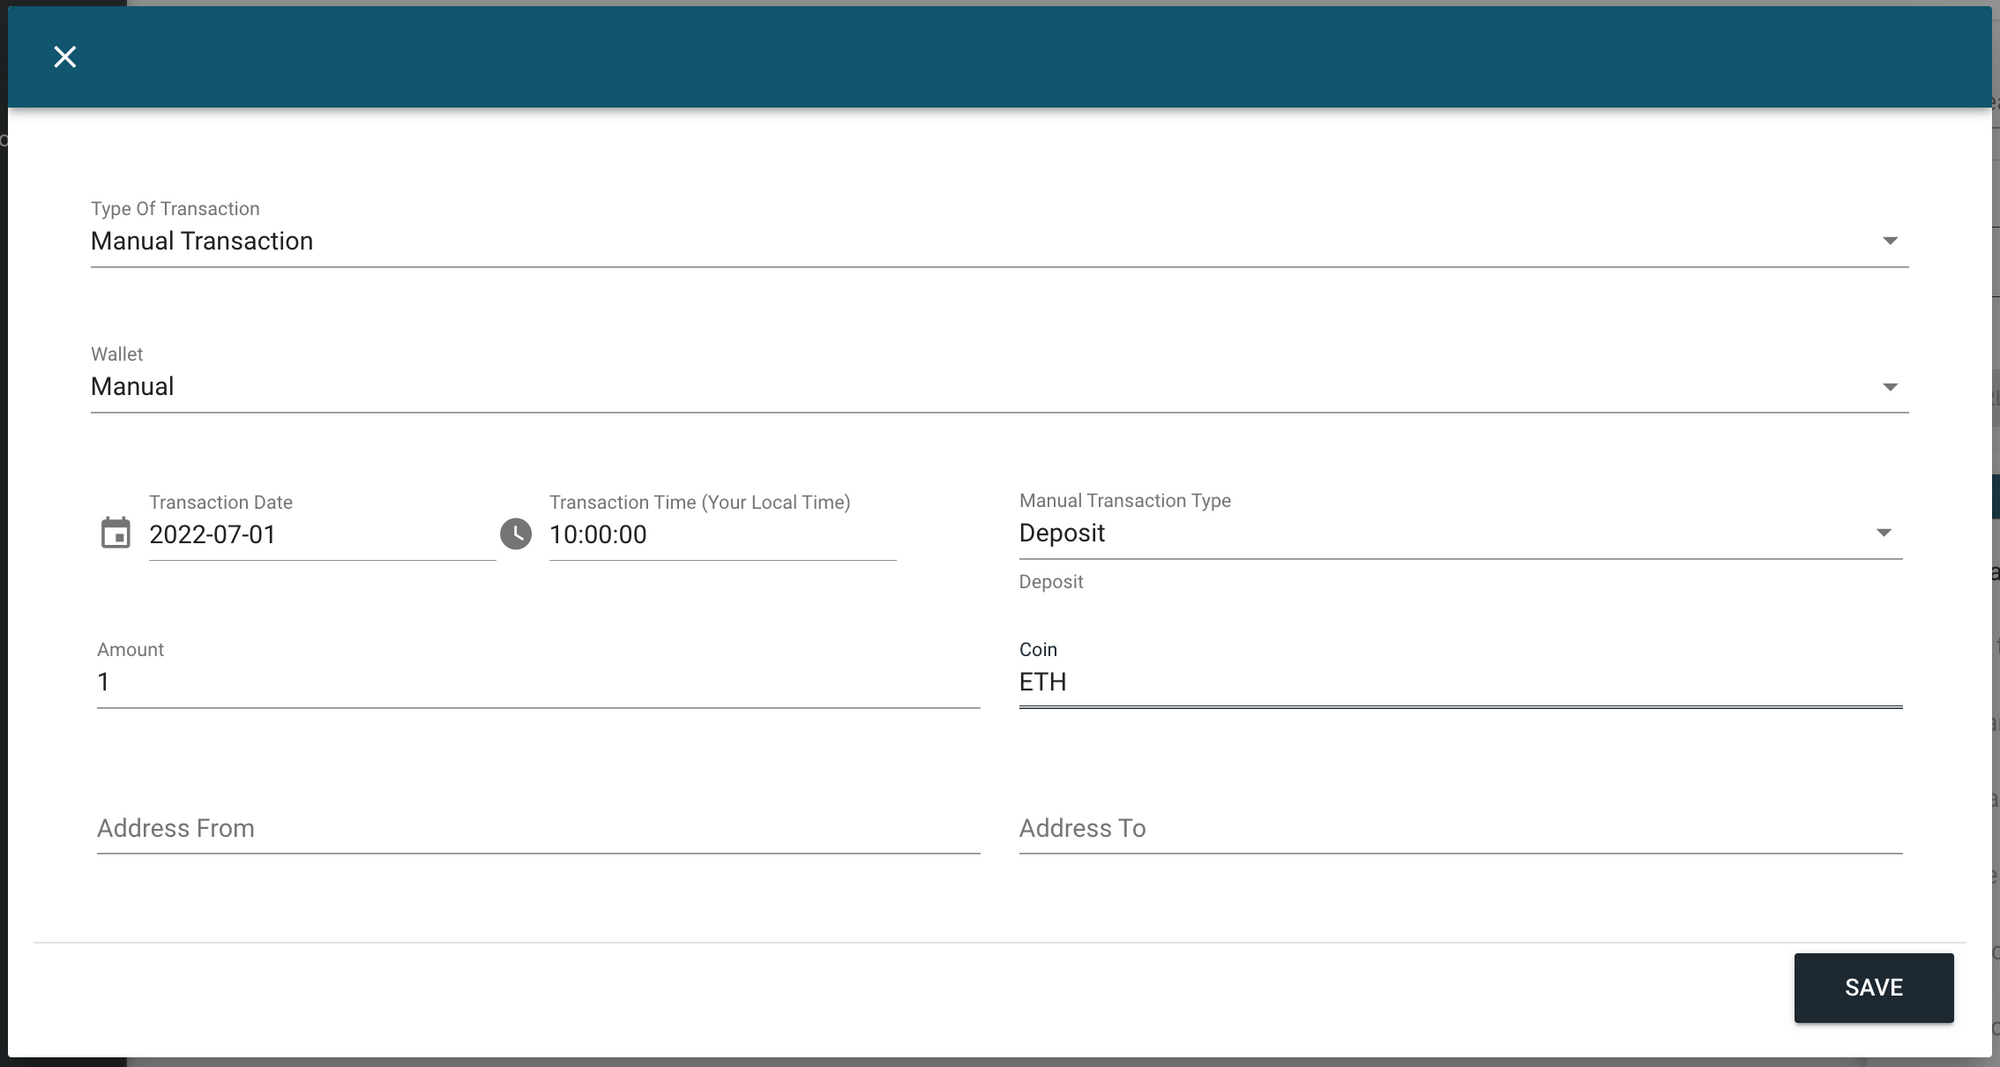
- Click SAVE
Categorize Transaction
- Go to Transactions → All Transactions
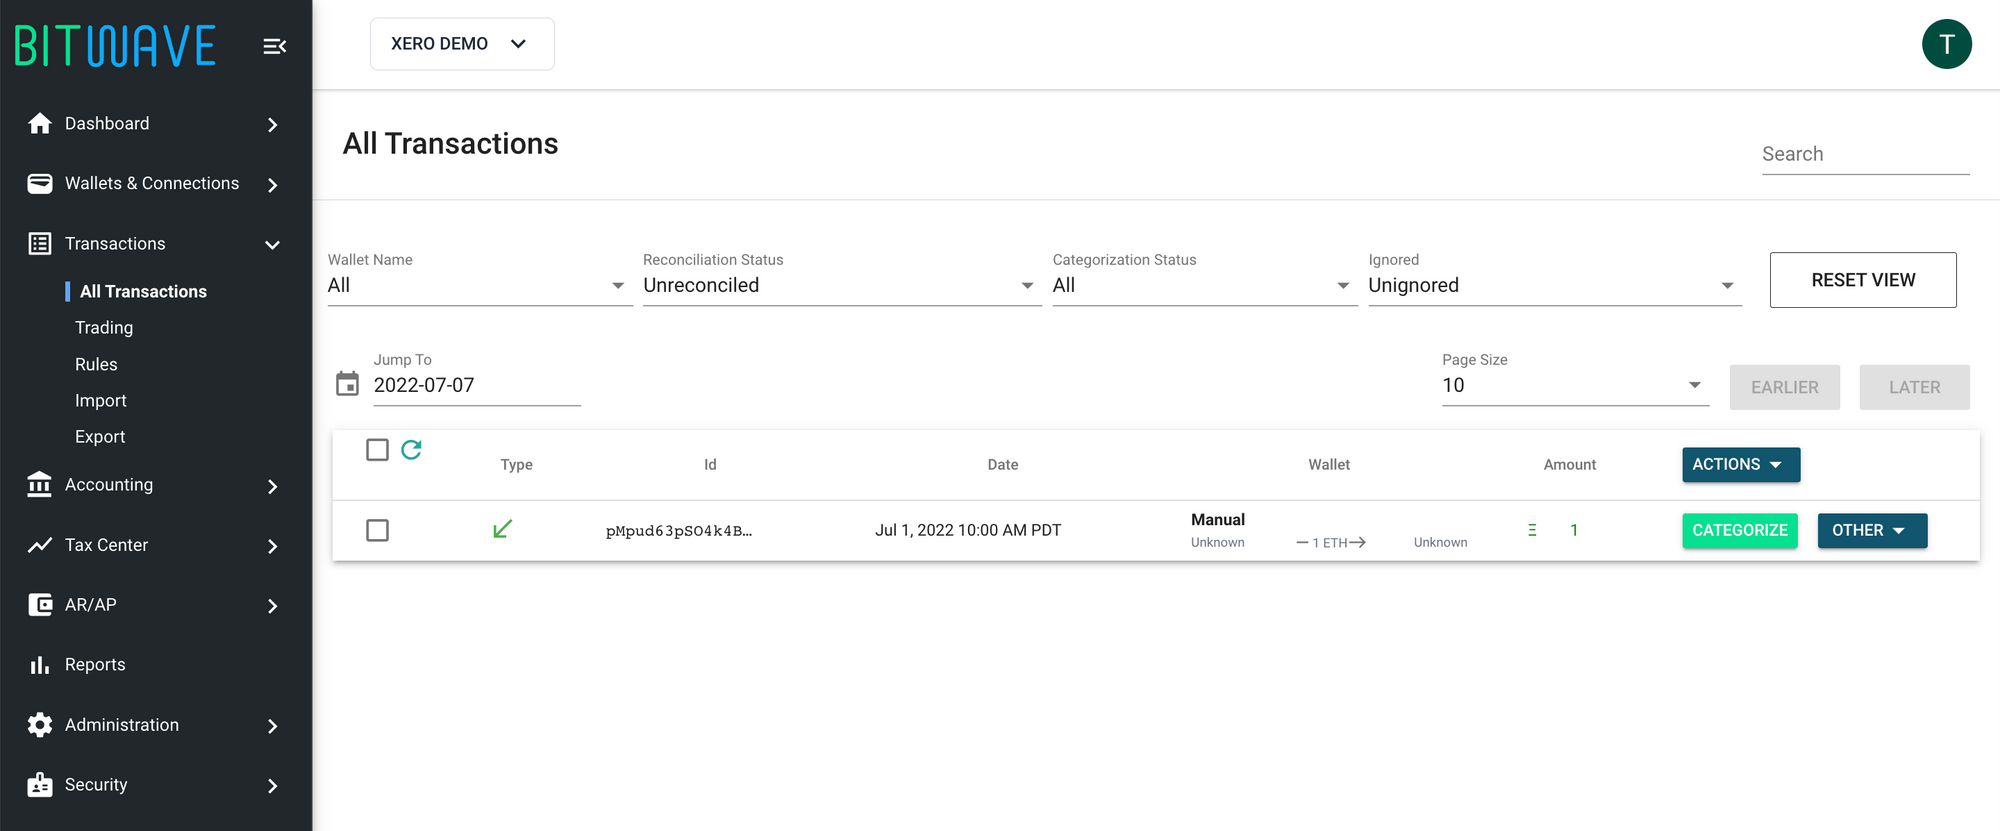
- Click CATEGORIZE
- Enter details as follows
a. Category = Other Revenue
b. Contact = Bayside Club
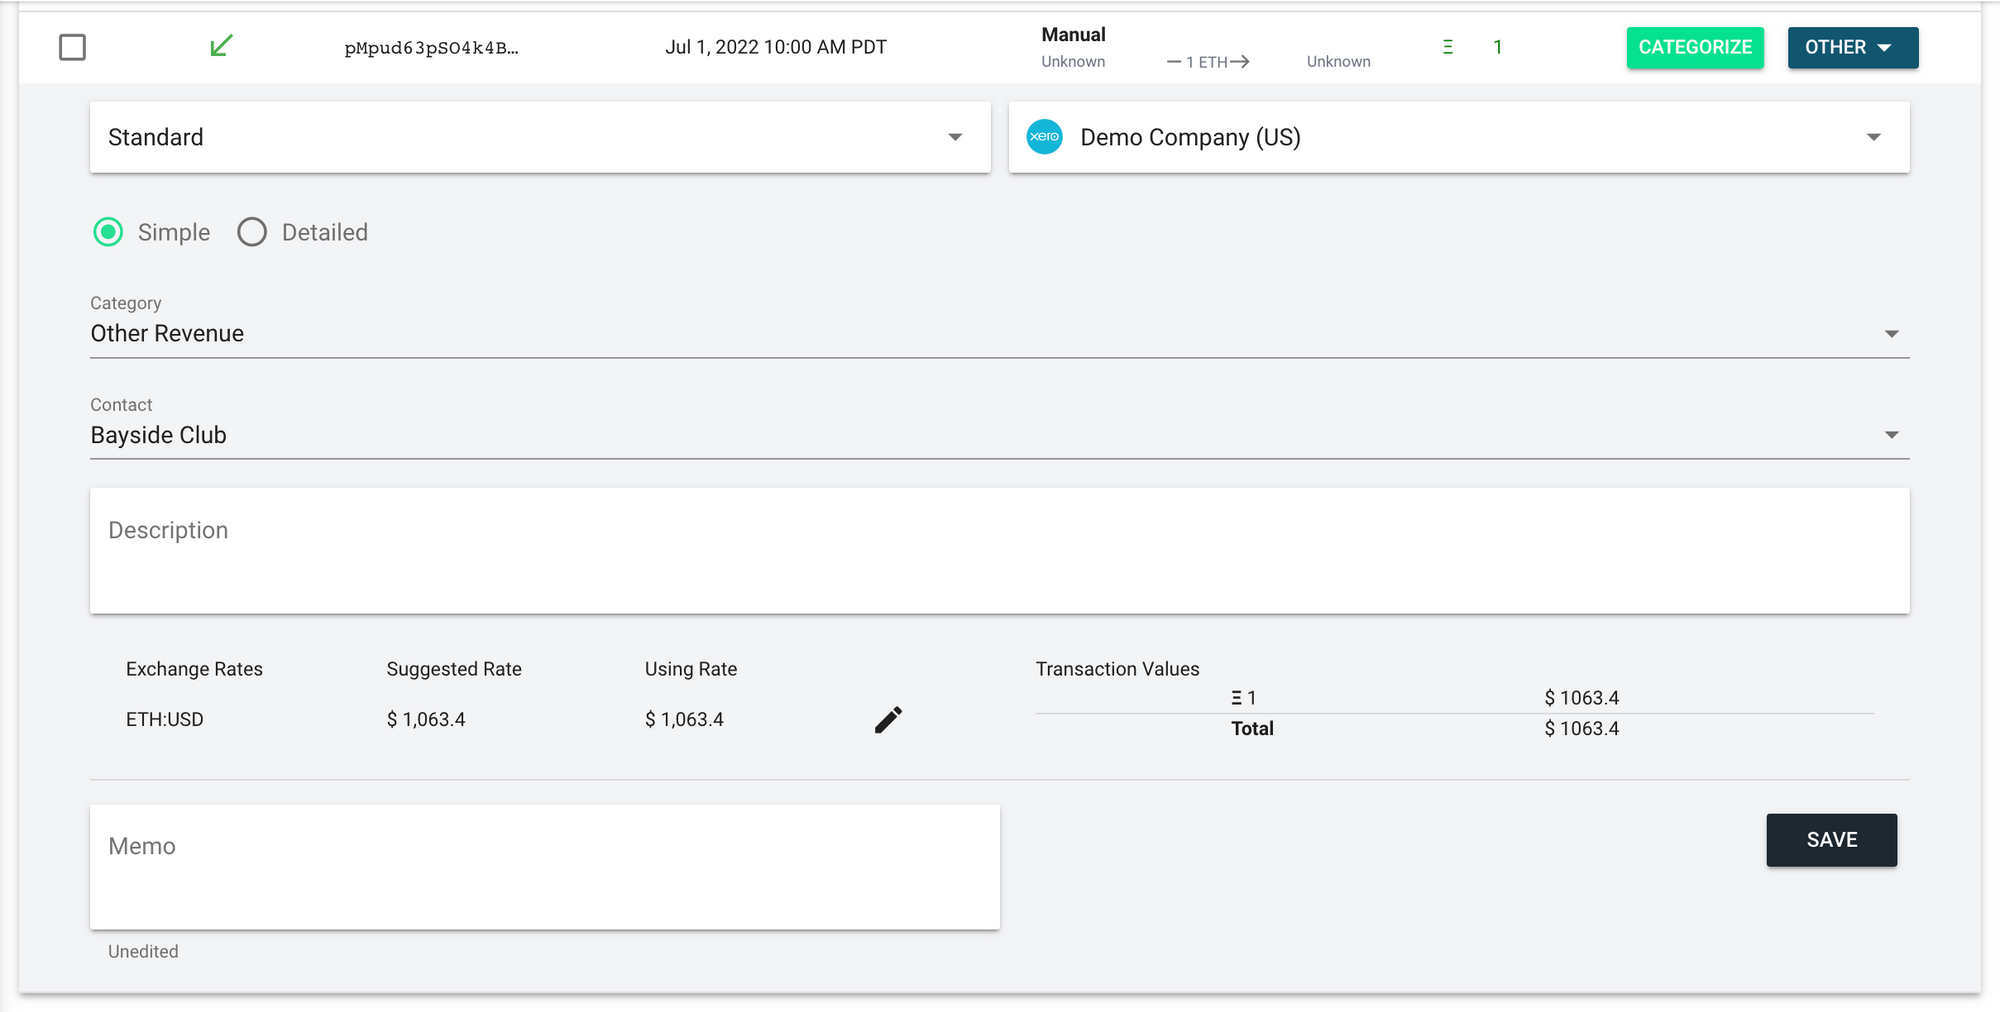
- Click SAVE
Reconcile Transaction
- Go to Accounting → Reconcile
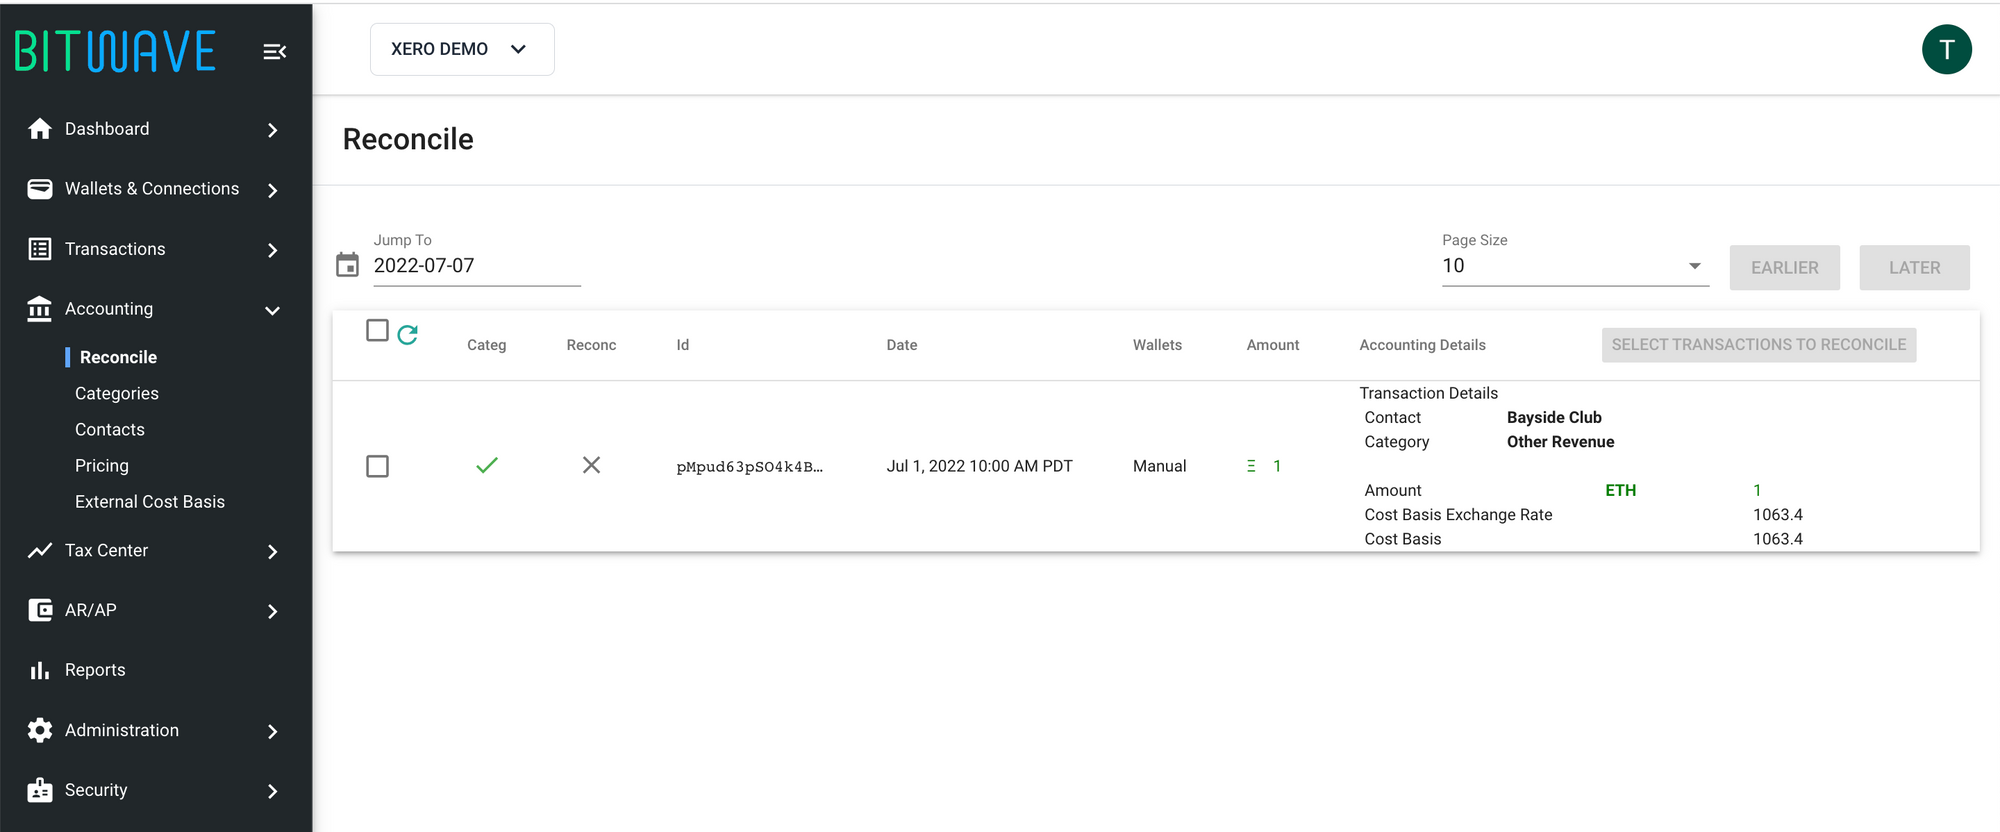
- Select a row and click RECONCILE 1 SELECTED TRANSACTION

Verify Transaction in Xero
- Login to Xero account
- Select the organization you connected to Bitwave
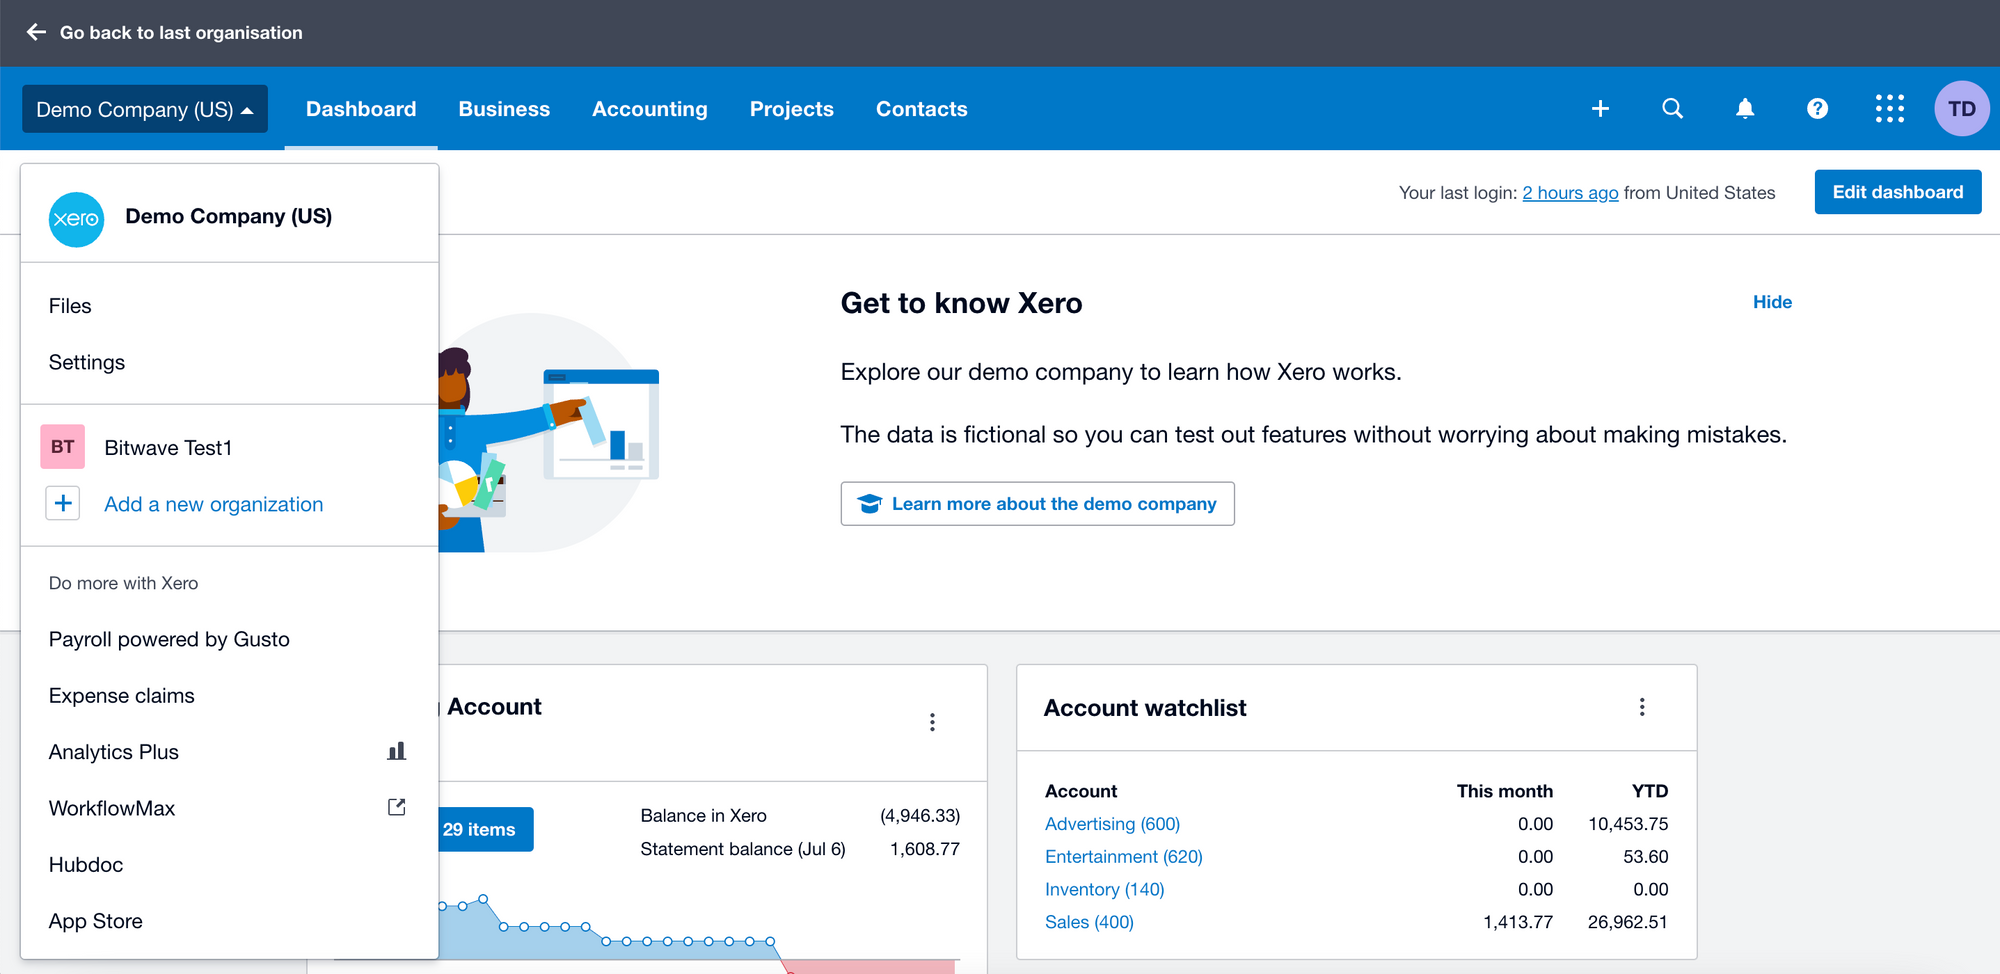
- Go to Accounting → Bank Accounts
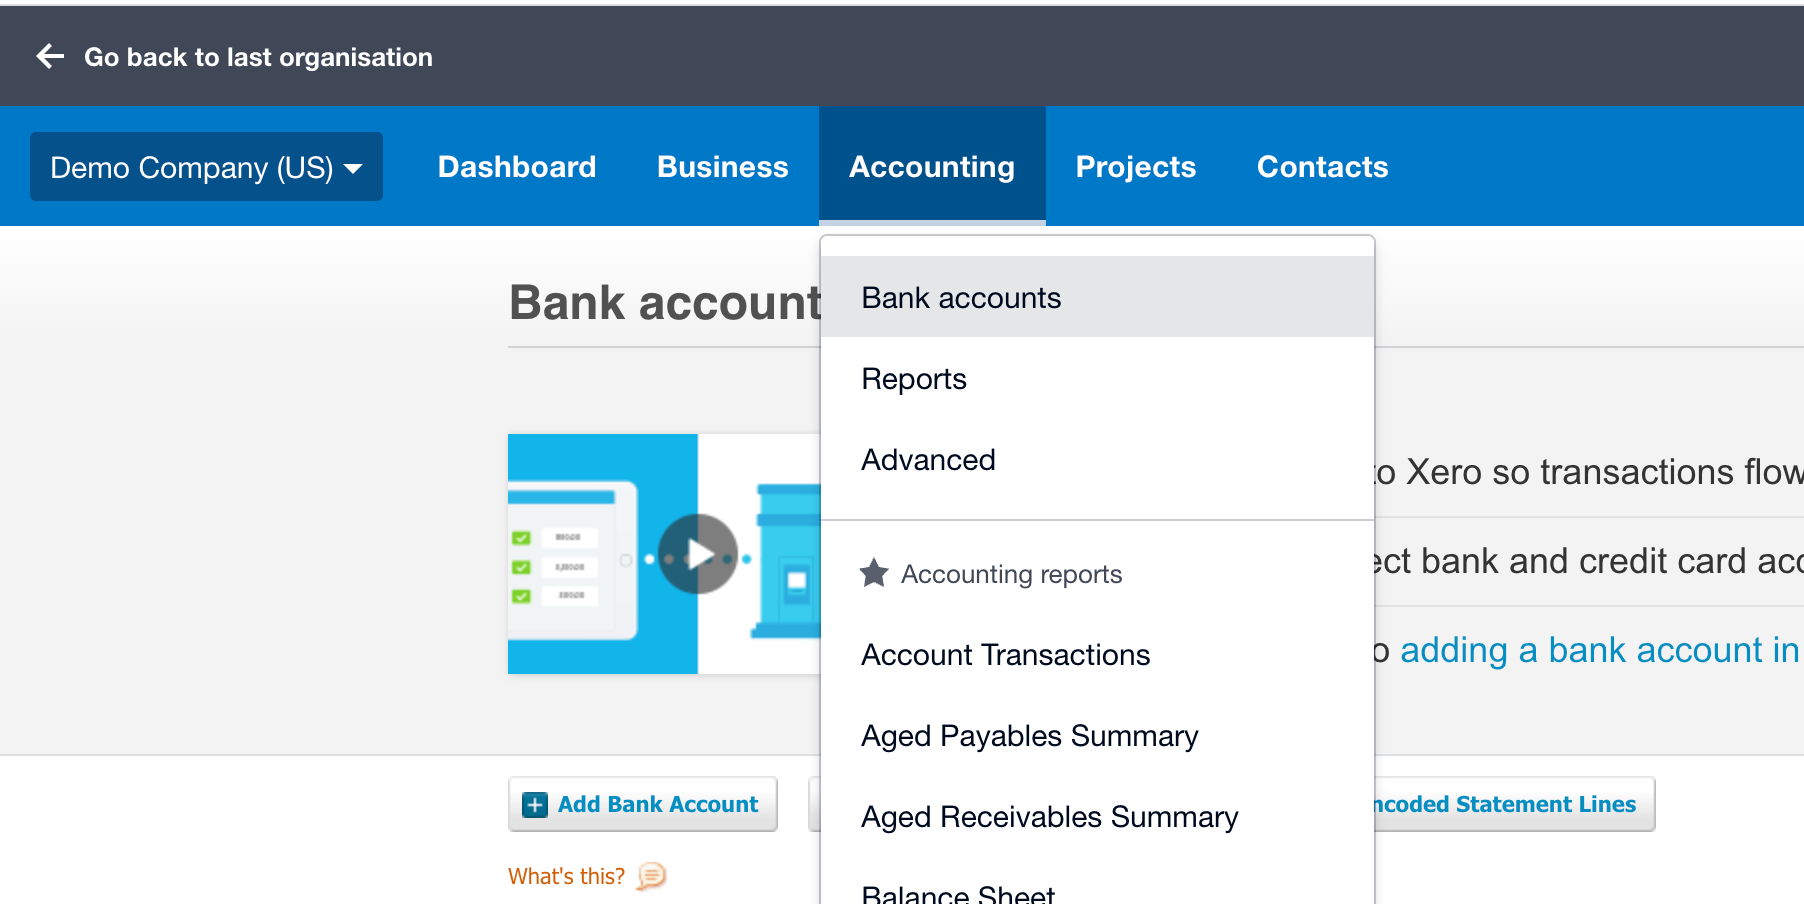
- Click on Bitwave - Digital Assets

- Verify the transaction. Received amount is same as Bitwave transaction amount
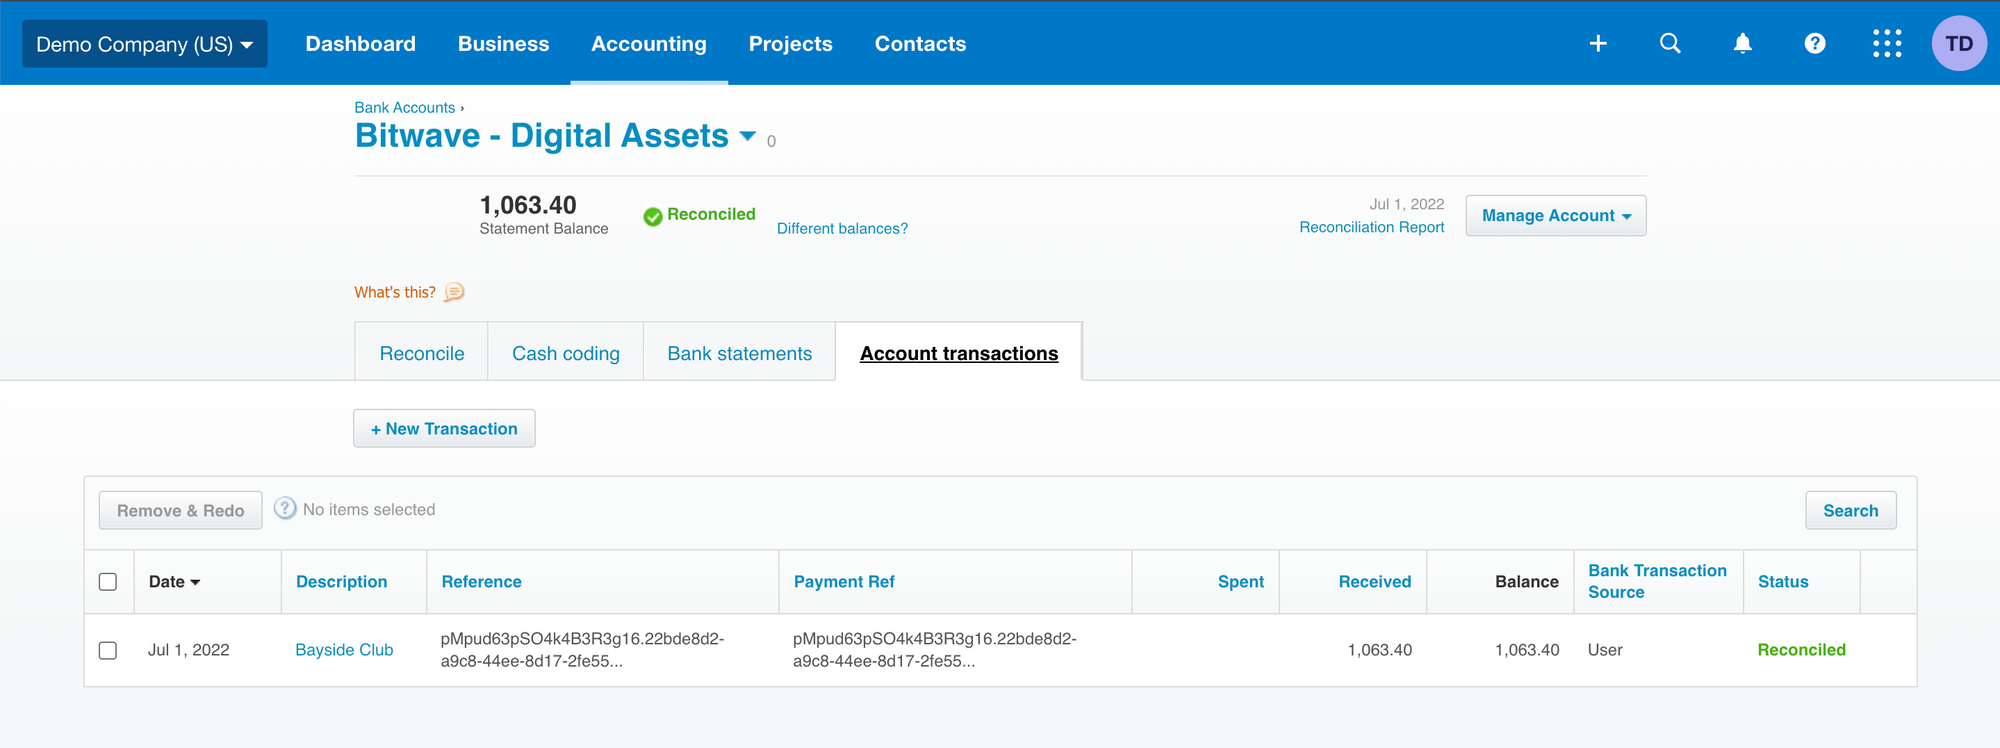
- Make sure reference is same as Id of transaction in Bitwave

Updated 5 months ago
